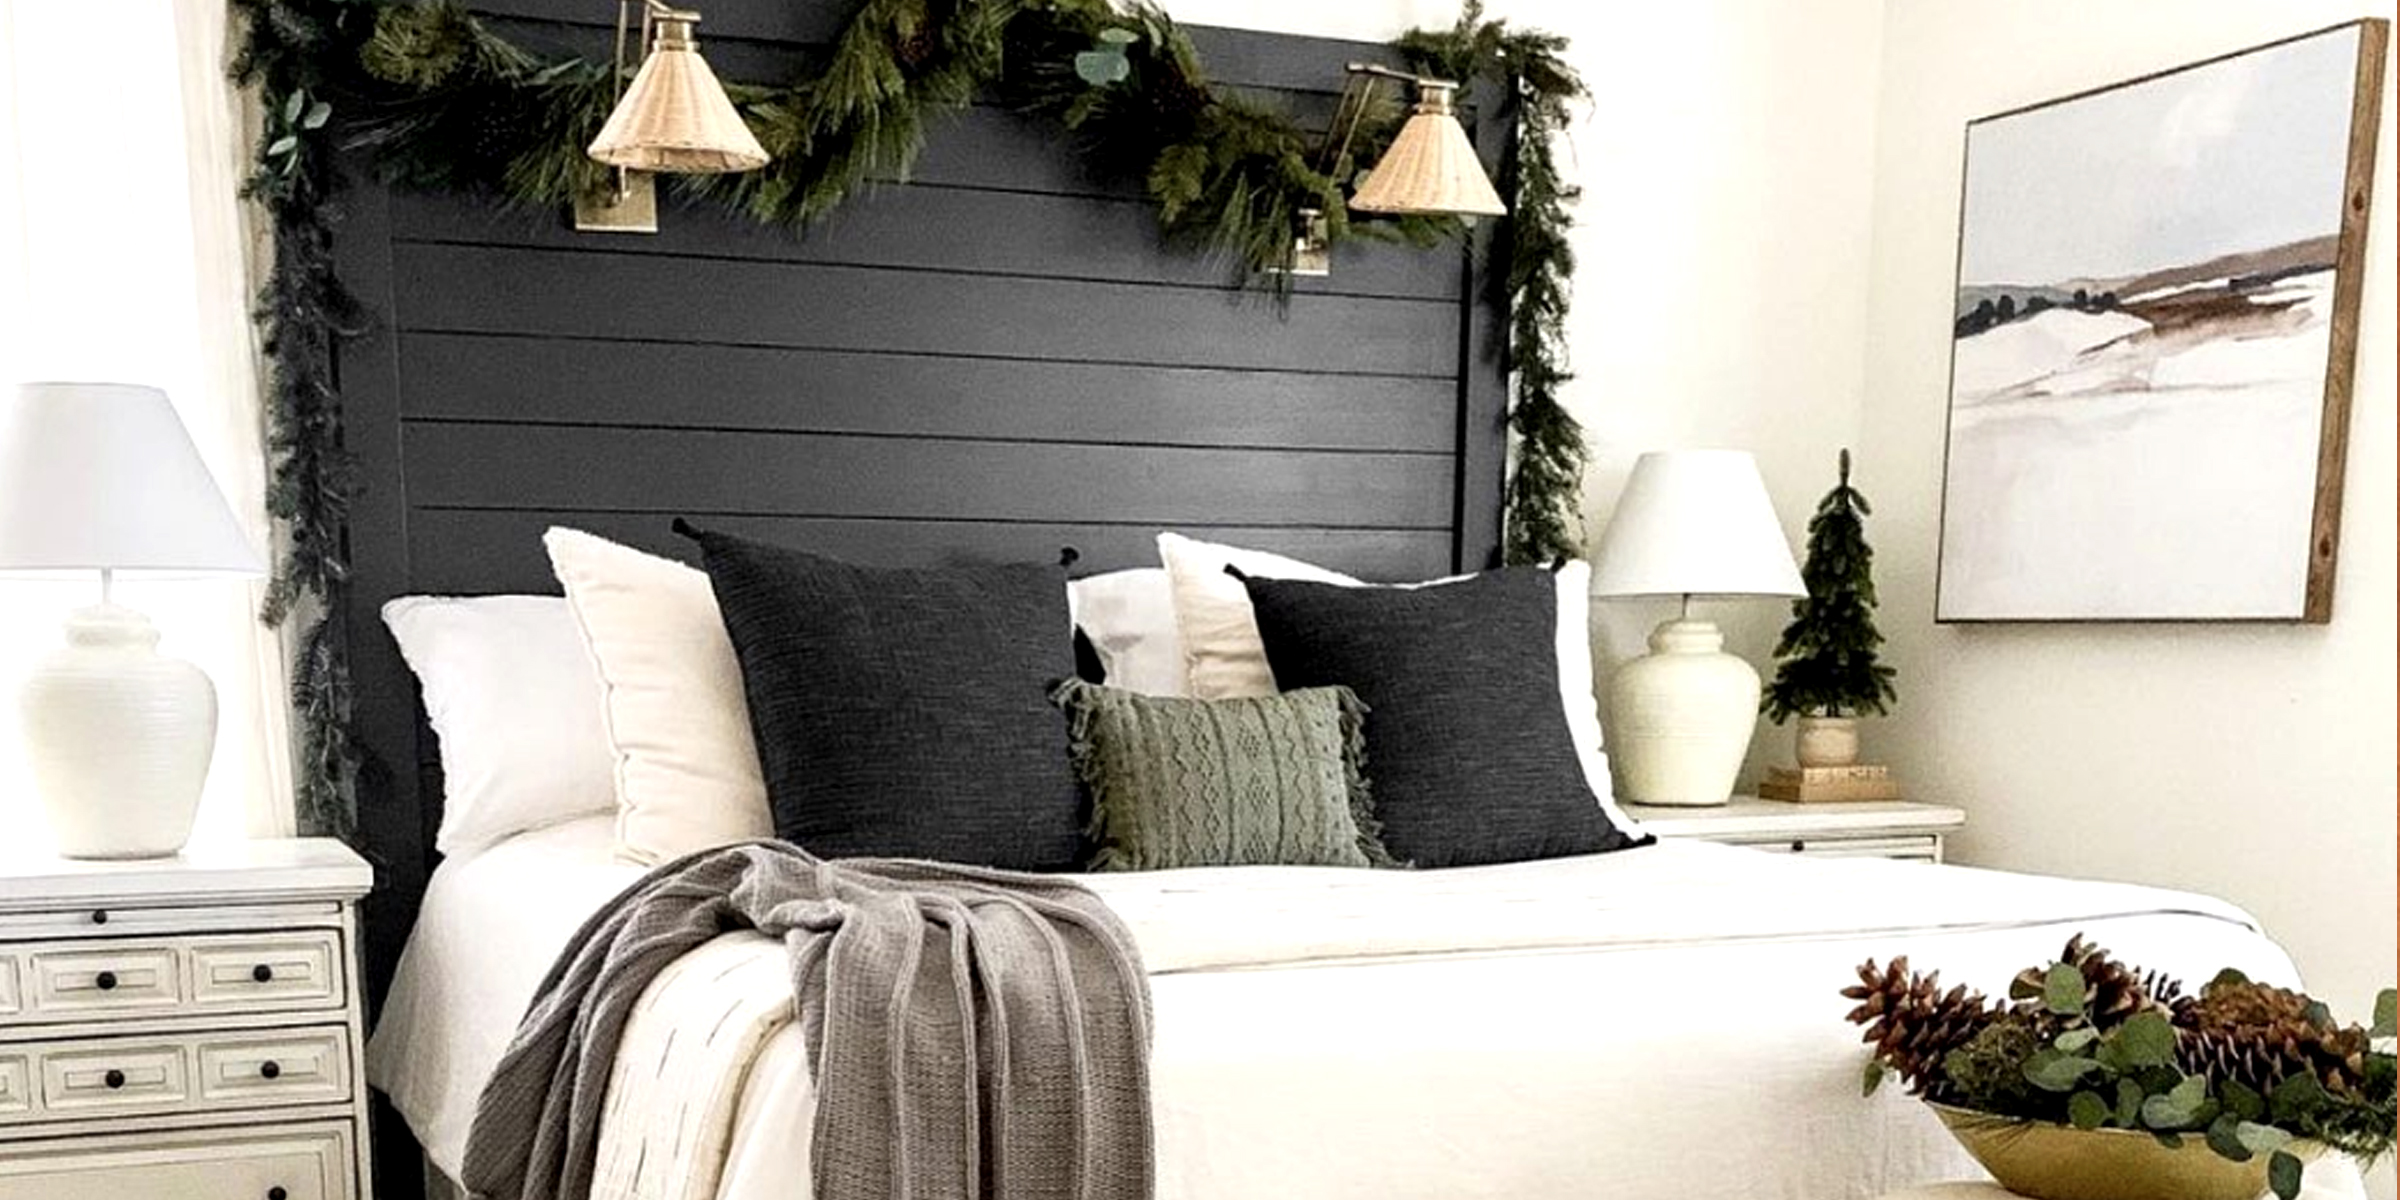
DIY Shiplap Headboard — A Helpful Guide to Crafting a Beautiful Addition to Your Bedroom
Apr 18, 2024


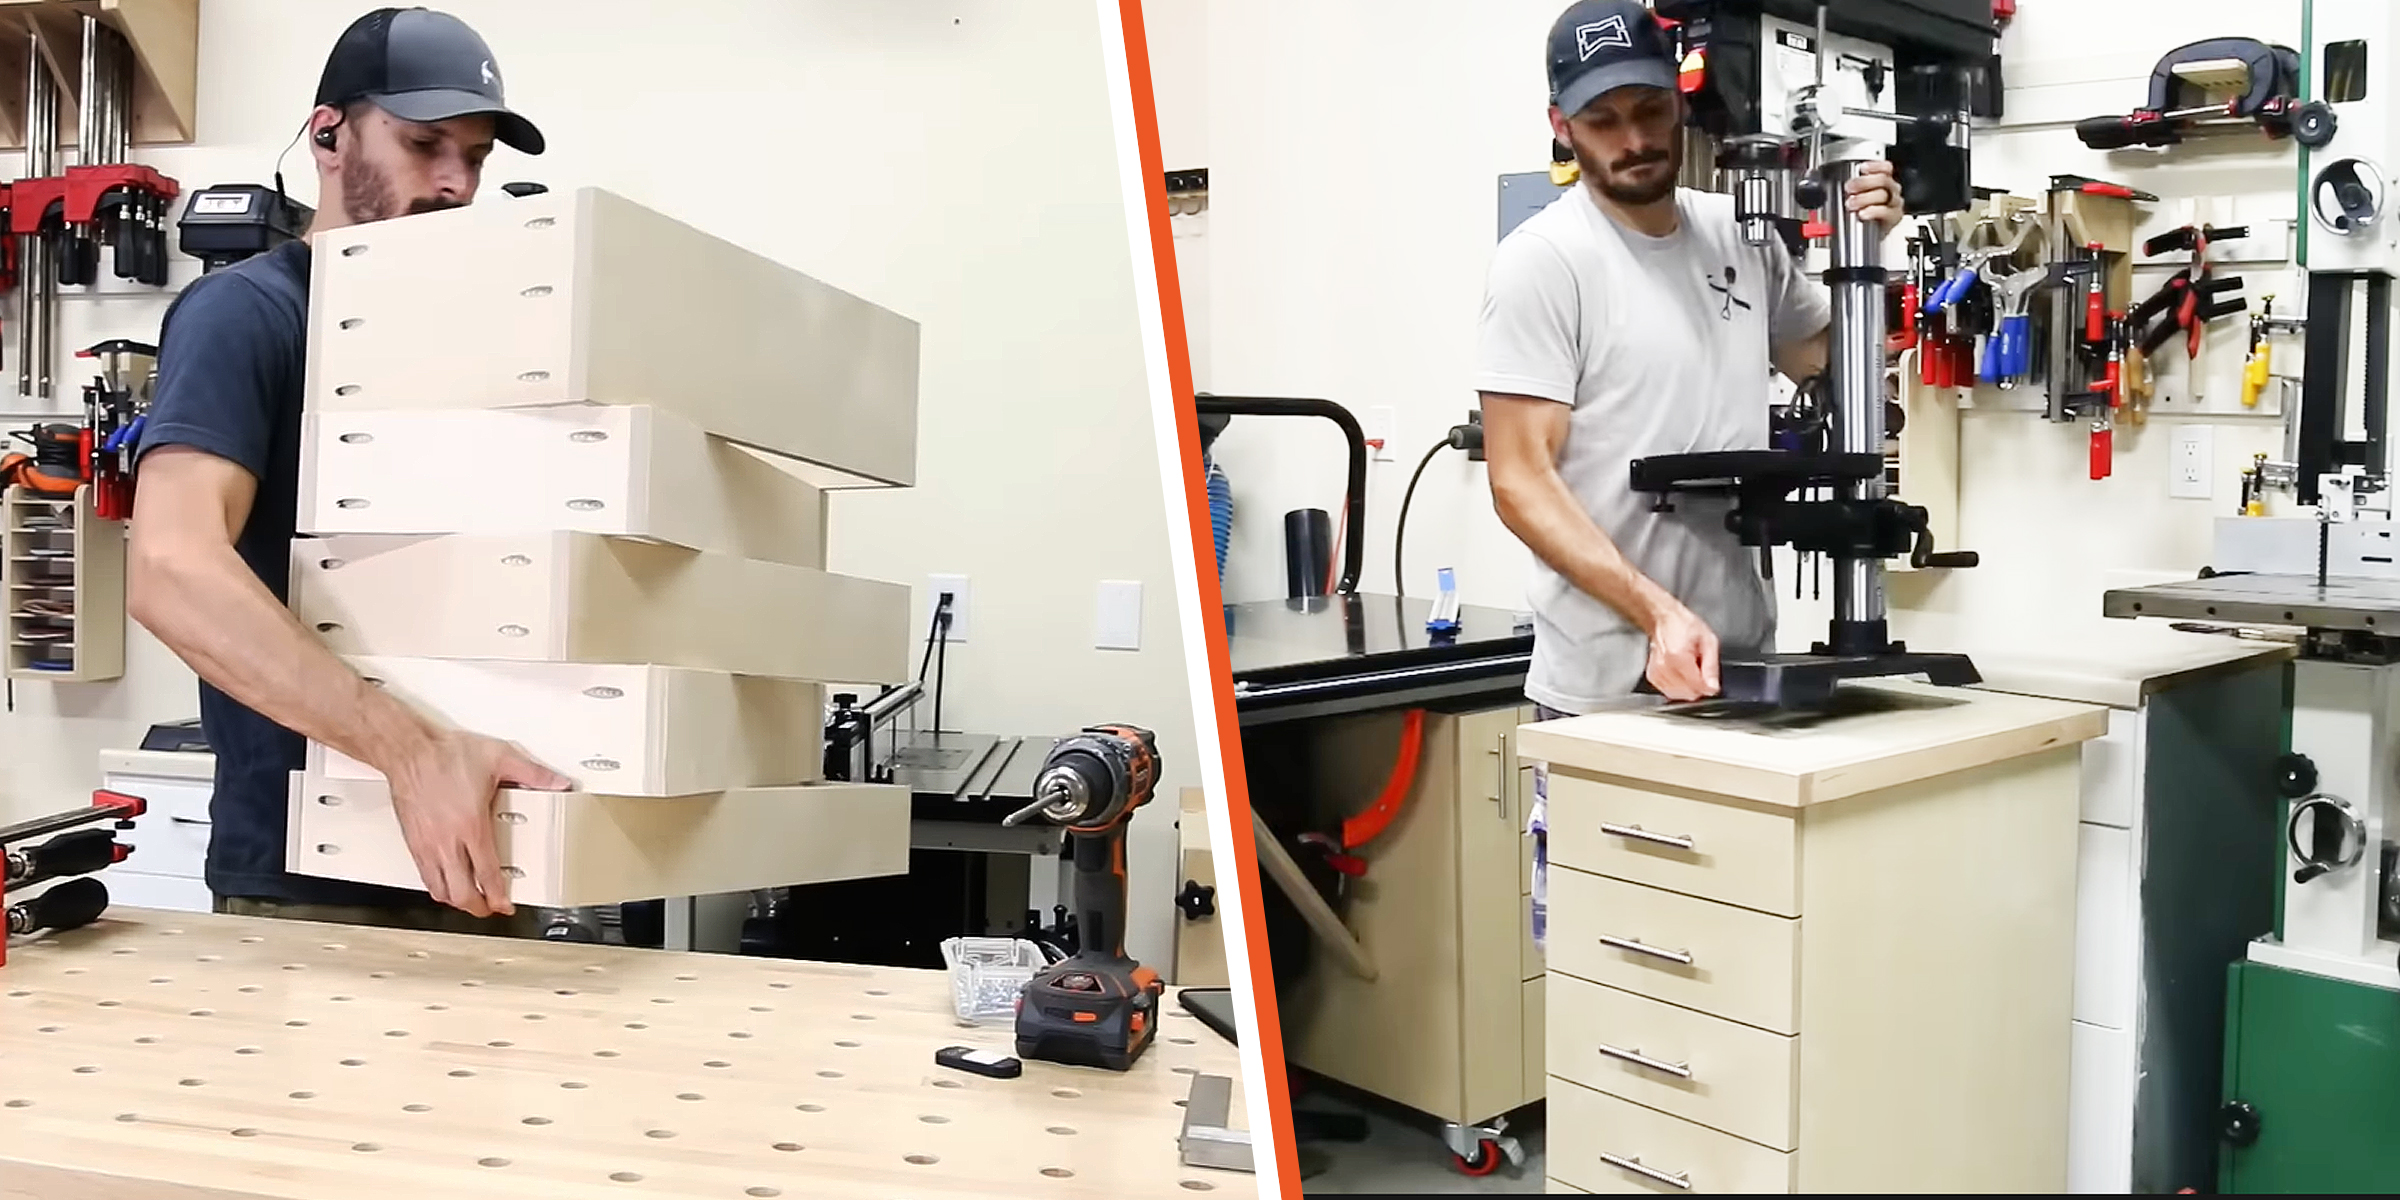
Transform any space into a personalized creative haven with a DIY wood backdrop. Easy to customize and simple to make, this versatile piece allows you to add a unique touch to your photography, events, or home decor.
In the world of creative projects, a DIY wood backdrop stands out as a versatile and customizable piece that can transform any space.
Whether you’re a photographer looking for a rustic feel in your photos or a DIY enthusiast eager to enhance your home decor, a wooden backdrop can be tailored to any size, color, and type of wood.
Read on for a detailed guide on how to craft your own stunning wooden backdrop, bringing a blend of functionality and artistic flair to your surroundings.
Step One: Begin by sanding down your cedar planks to remove any rough edges, enhancing the texture and readying the surface for staining or painting.
Arrange the planks side by side with slight gaps to allow for aesthetic spacing. Position the pine stretchers across the planks near the edges to provide support and allow the backdrop to be used on both sides.
Step Two: Attach the stretchers to the cedar planks using wood screws. It’s crucial to drill pilot holes first to prevent the wood from splitting. For those using sheet metal screws, monitor the depth as they drill their own pilot holes and can penetrate too deeply if not careful.
Step Three: Choose whether to stain or paint your planks. Staining brings out the natural beauty of cedar, ideal for a backdrop with a warm, authentic tone. For painting, apply your chosen color over the pre-stained wood, aiming for a coverage that masks the wood grain, preparing it for the distressing stage.
Step Four: Apply petroleum jelly on sections of the wood where you would like a distressed effect, particularly along the edges and random streaks across the planks. This layer will prevent the paint from adhering completely, making it easier to scrape off in the next step.
Step Five: Paint over the entire backdrop, ensuring complete coverage. Avoid using a primer to make the distressing process effective. Apply two coats if necessary, allowing each coat to dry thoroughly.
Step Six: Once the paint has dried, use a metal spatula to scrape away areas where petroleum jelly was applied. This technique reveals the underlying stained wood, creating a beautifully aged look. Optionally, sand lightly to enhance the distressed appearance without removing too much paint.
Creating a DIY wood backdrop is more than just assembling wood and applying paint; it’s about crafting a piece that adds texture, color, and personality to your creative space. Each step in the process allows you to personalize the backdrop, ensuring it perfectly suits your aesthetic needs.
Now that you've mastered the art of making a wooden backdrop, why not continue exploring other DIY projects? Check out our next guide on DIY art display panels and transform your creative displays into works of art.

Tiki huts are making a significant comeback, captivating enthusiasts with their distinctive charm that transports you to a serene paradise. Embark on a journey to transform your backyard into a tranquil oasis with our step-by-step guide on how to make a Tiki Hut.
Mar 20, 2024
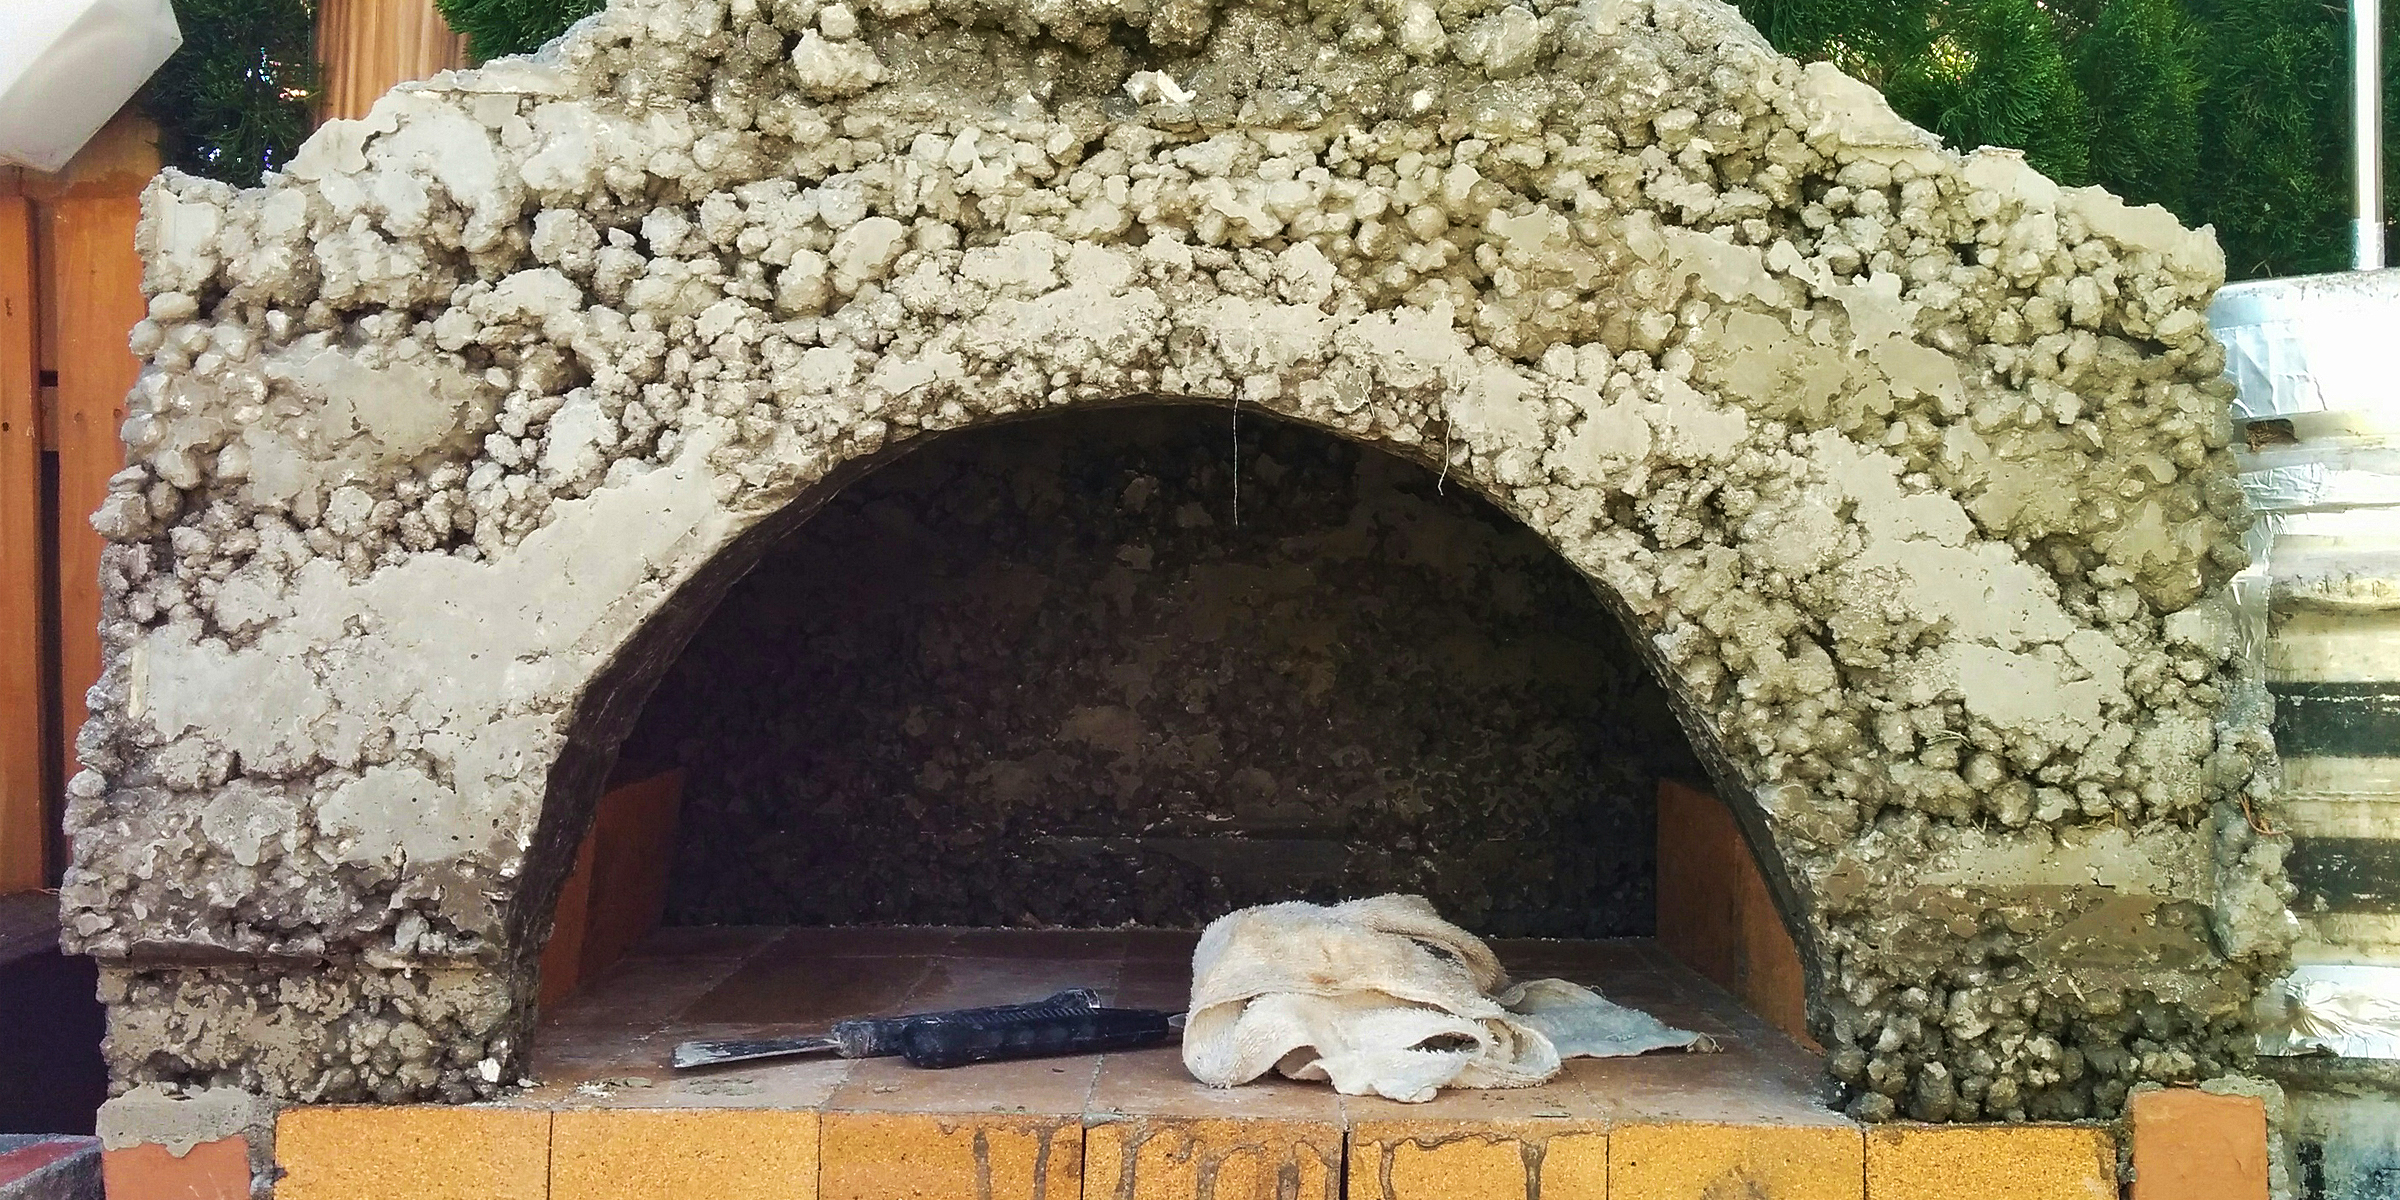
Elevate your culinary skills and backyard aesthetics by building your own DIY pizza oven. This comprehensive guide will equip you with the knowledge and step-by-step instructions to construct a functional and stylish pizza oven.
Apr 16, 2024

Whether you're aiming to protect your floor from the warmth of the embers or seeking to add an aesthetic flourish to your living space, this guide will walk you through creating the perfect DIY hearth pad for your home.
Apr 09, 2024
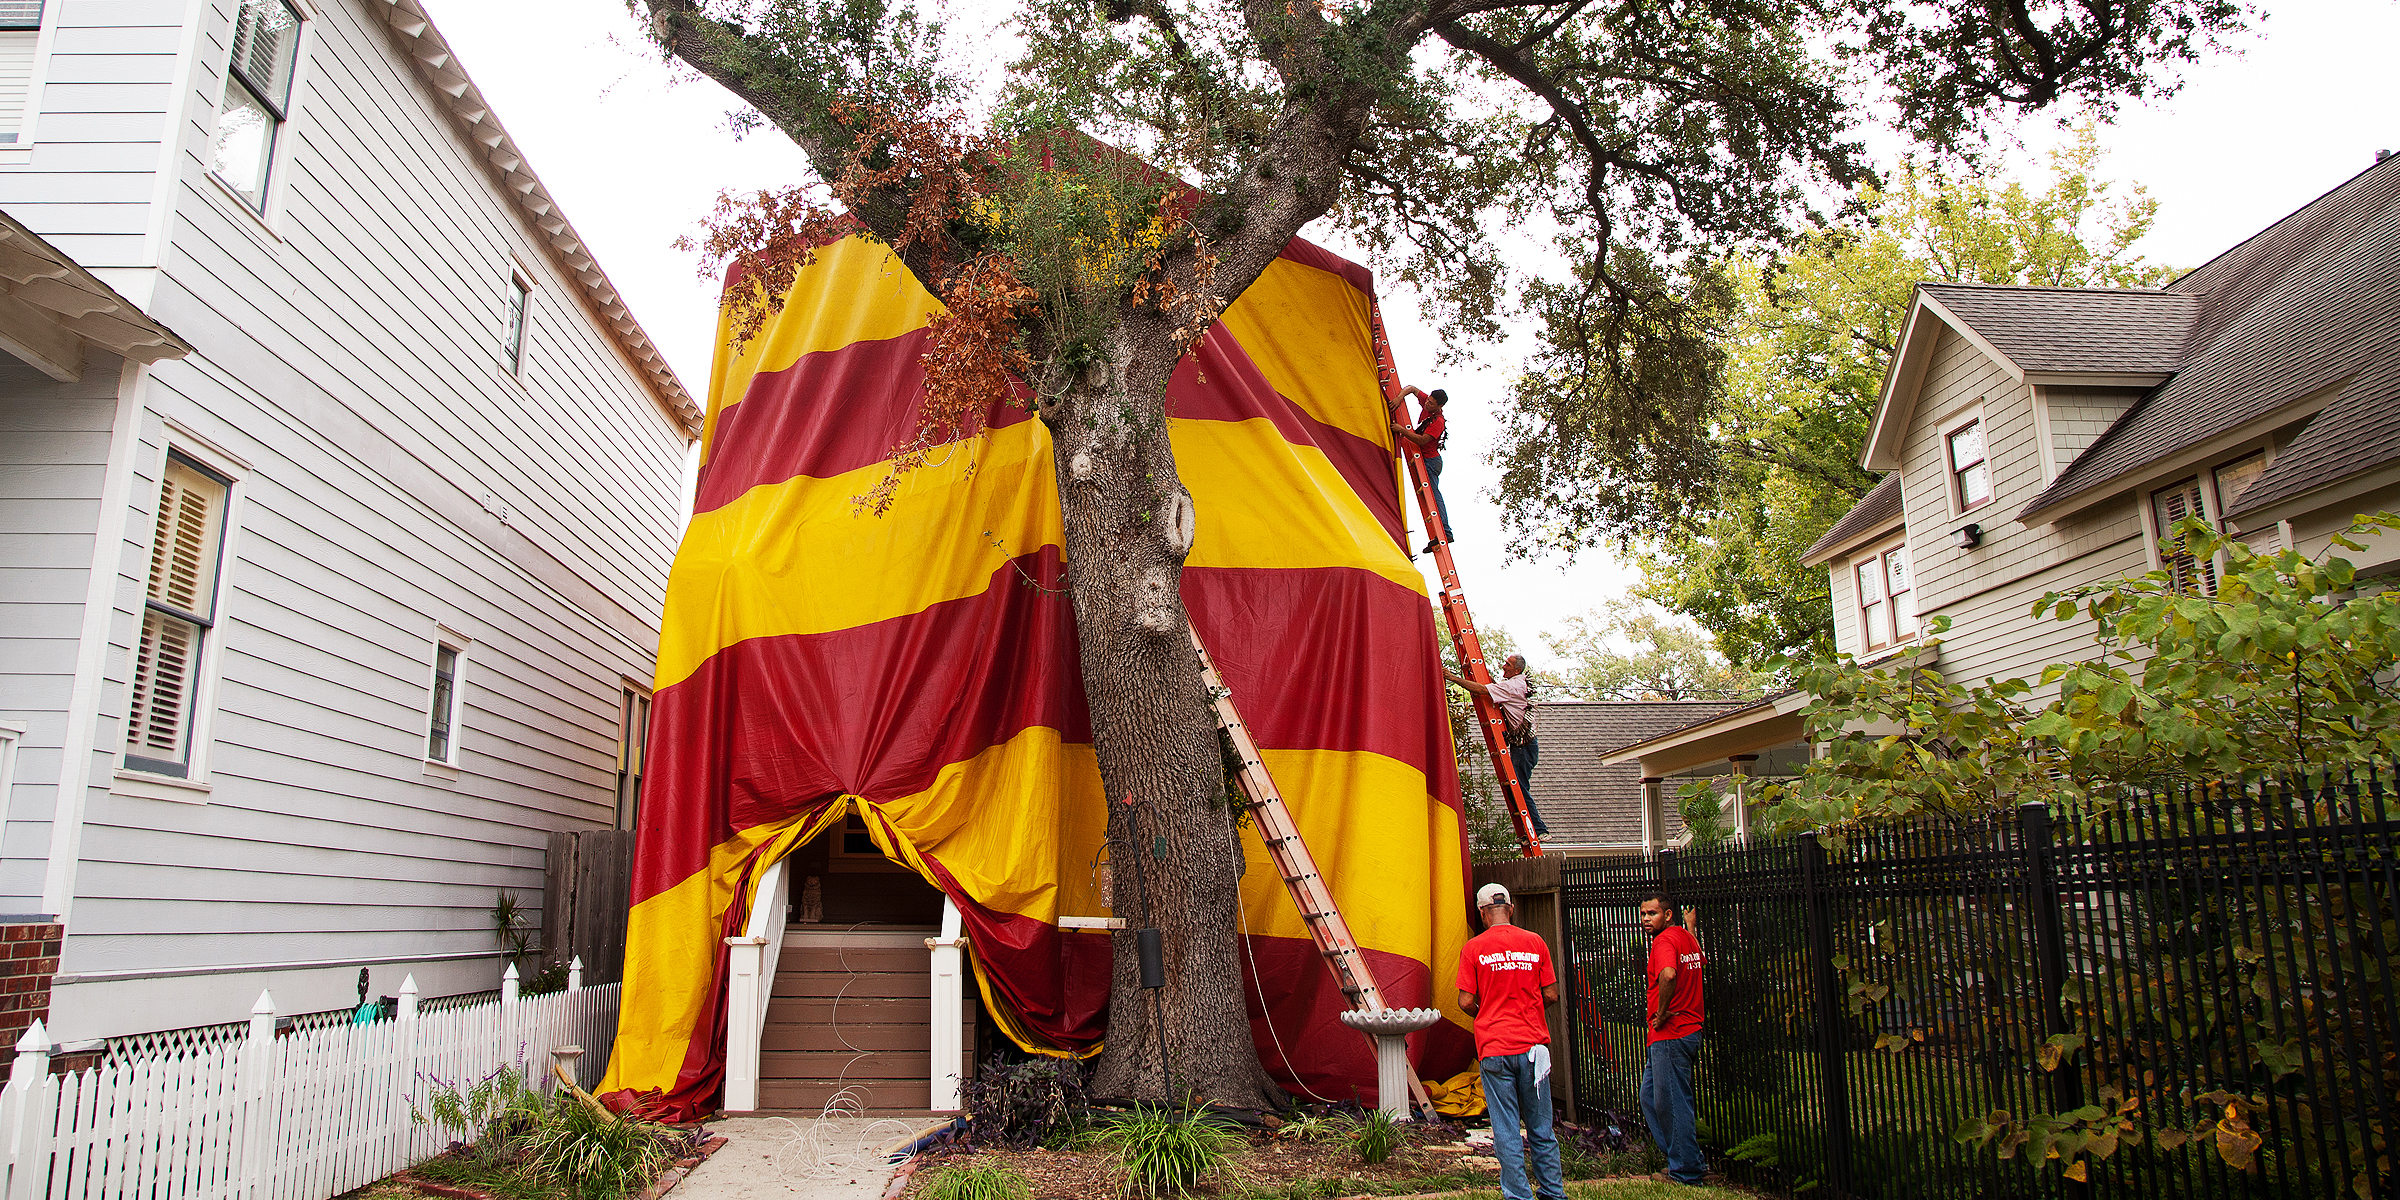
Is your home about to undergo tent fumigation, leaving you scrambling in worry about what to do next? Fear not, as this guide is curated to walk you through the necessary preparations to ensure your house is pest-free and safe for your return.
Apr 30, 2024
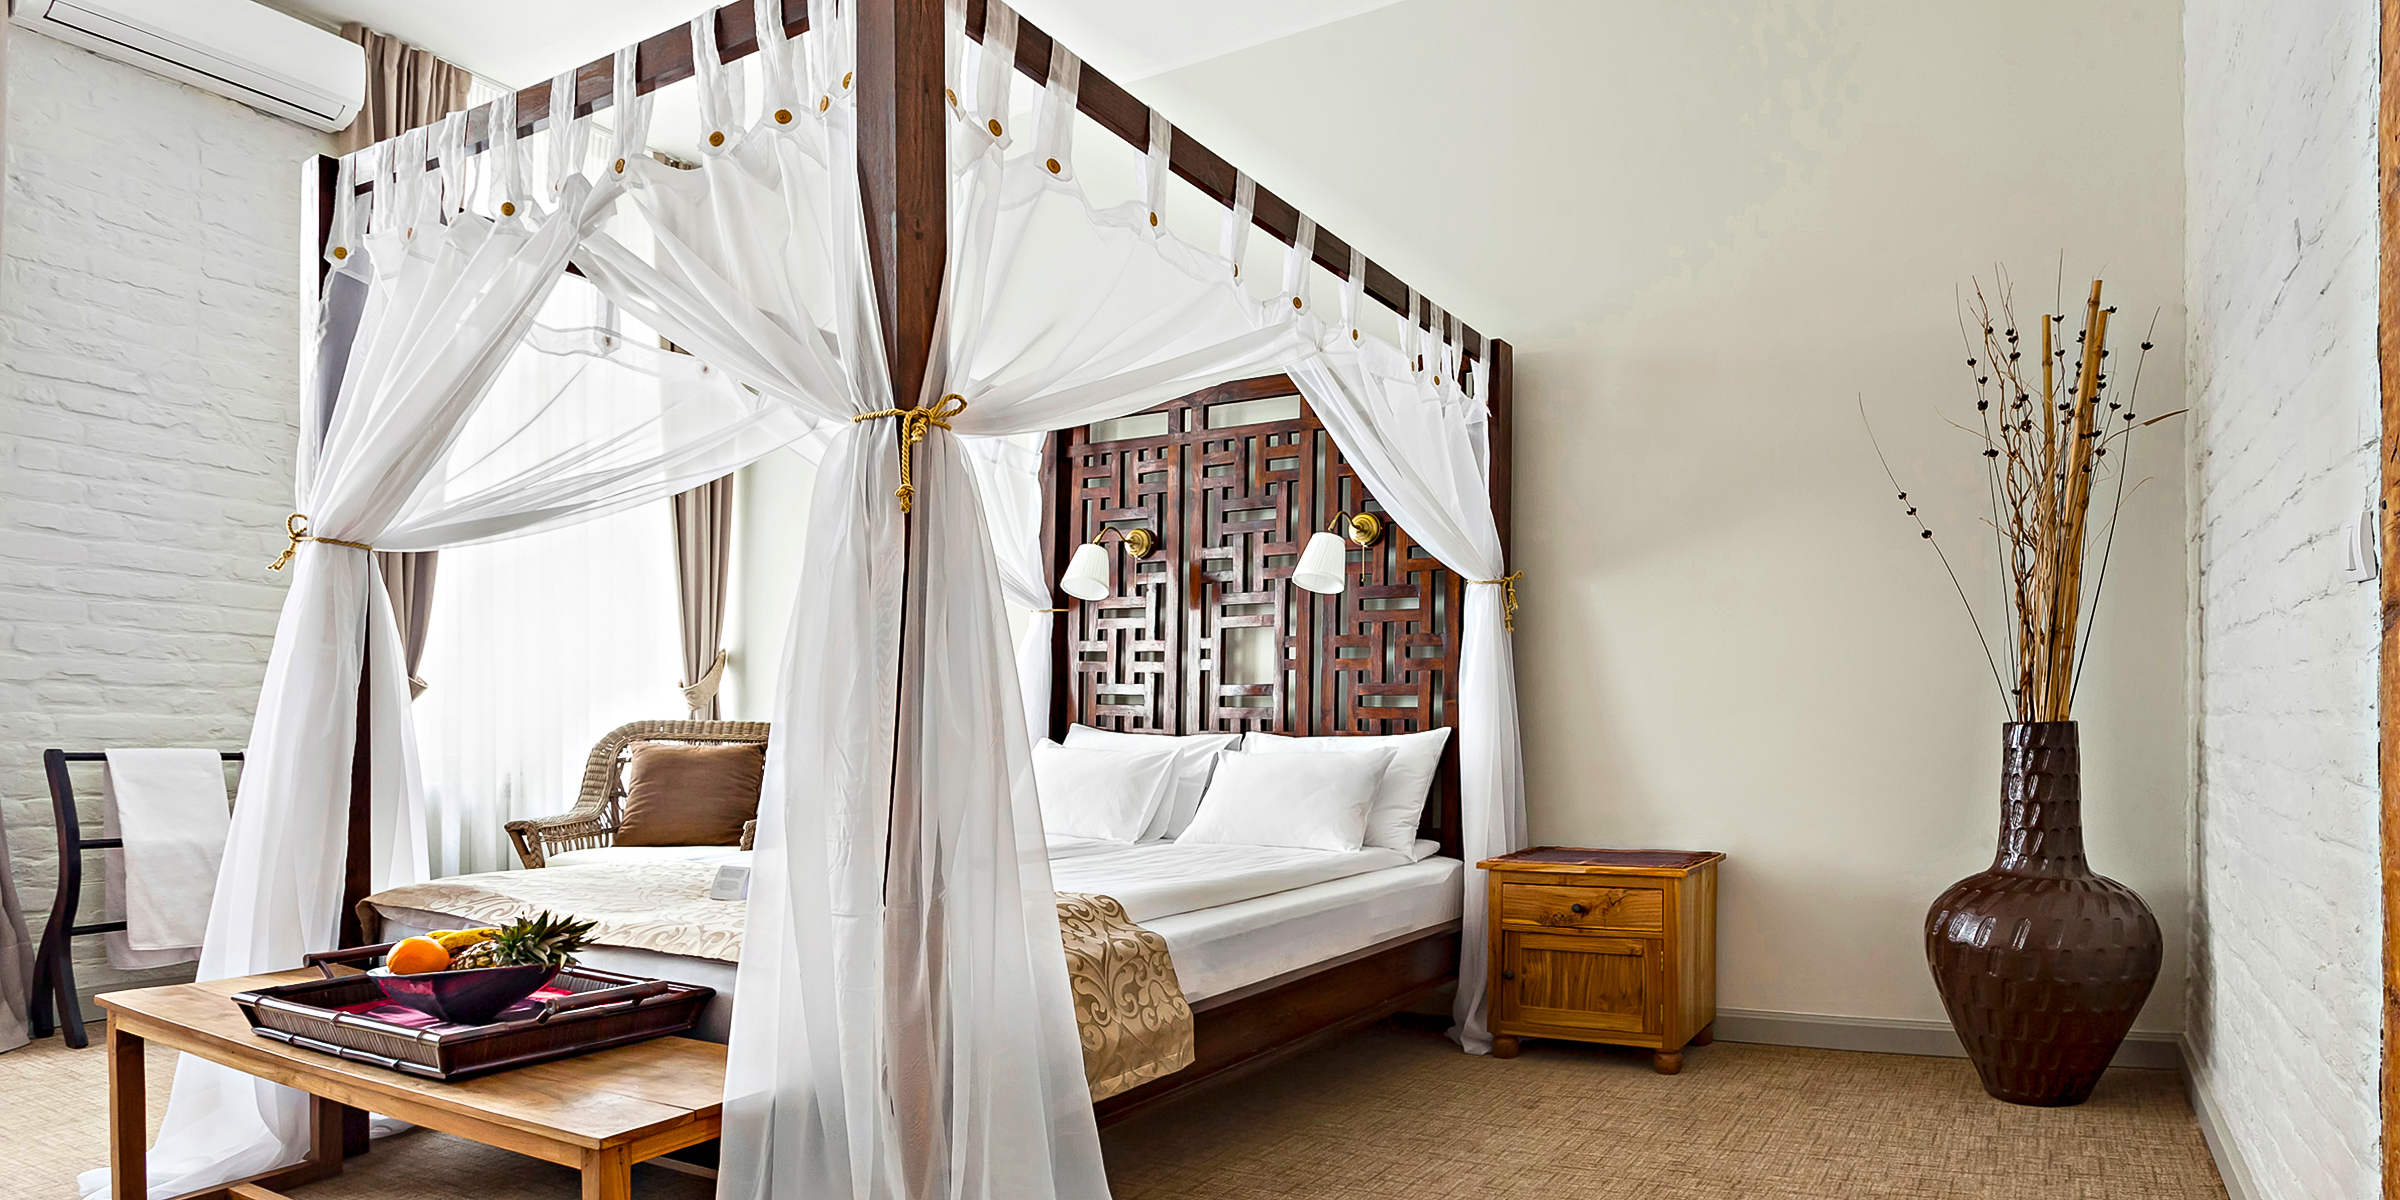
Transform your bedroom into a luxurious sanctuary without lifting a drill. This guide will show you how to create a DIY canopy bed without drilling the ceiling, bringing elegance and romance right above your resting space.
Apr 19, 2024

Embark on an unforgettable journey into the world of angling with DIY fishing lures, a creative adventure that transforms ordinary materials into treasured tools for the perfect catch.
May 04, 2024
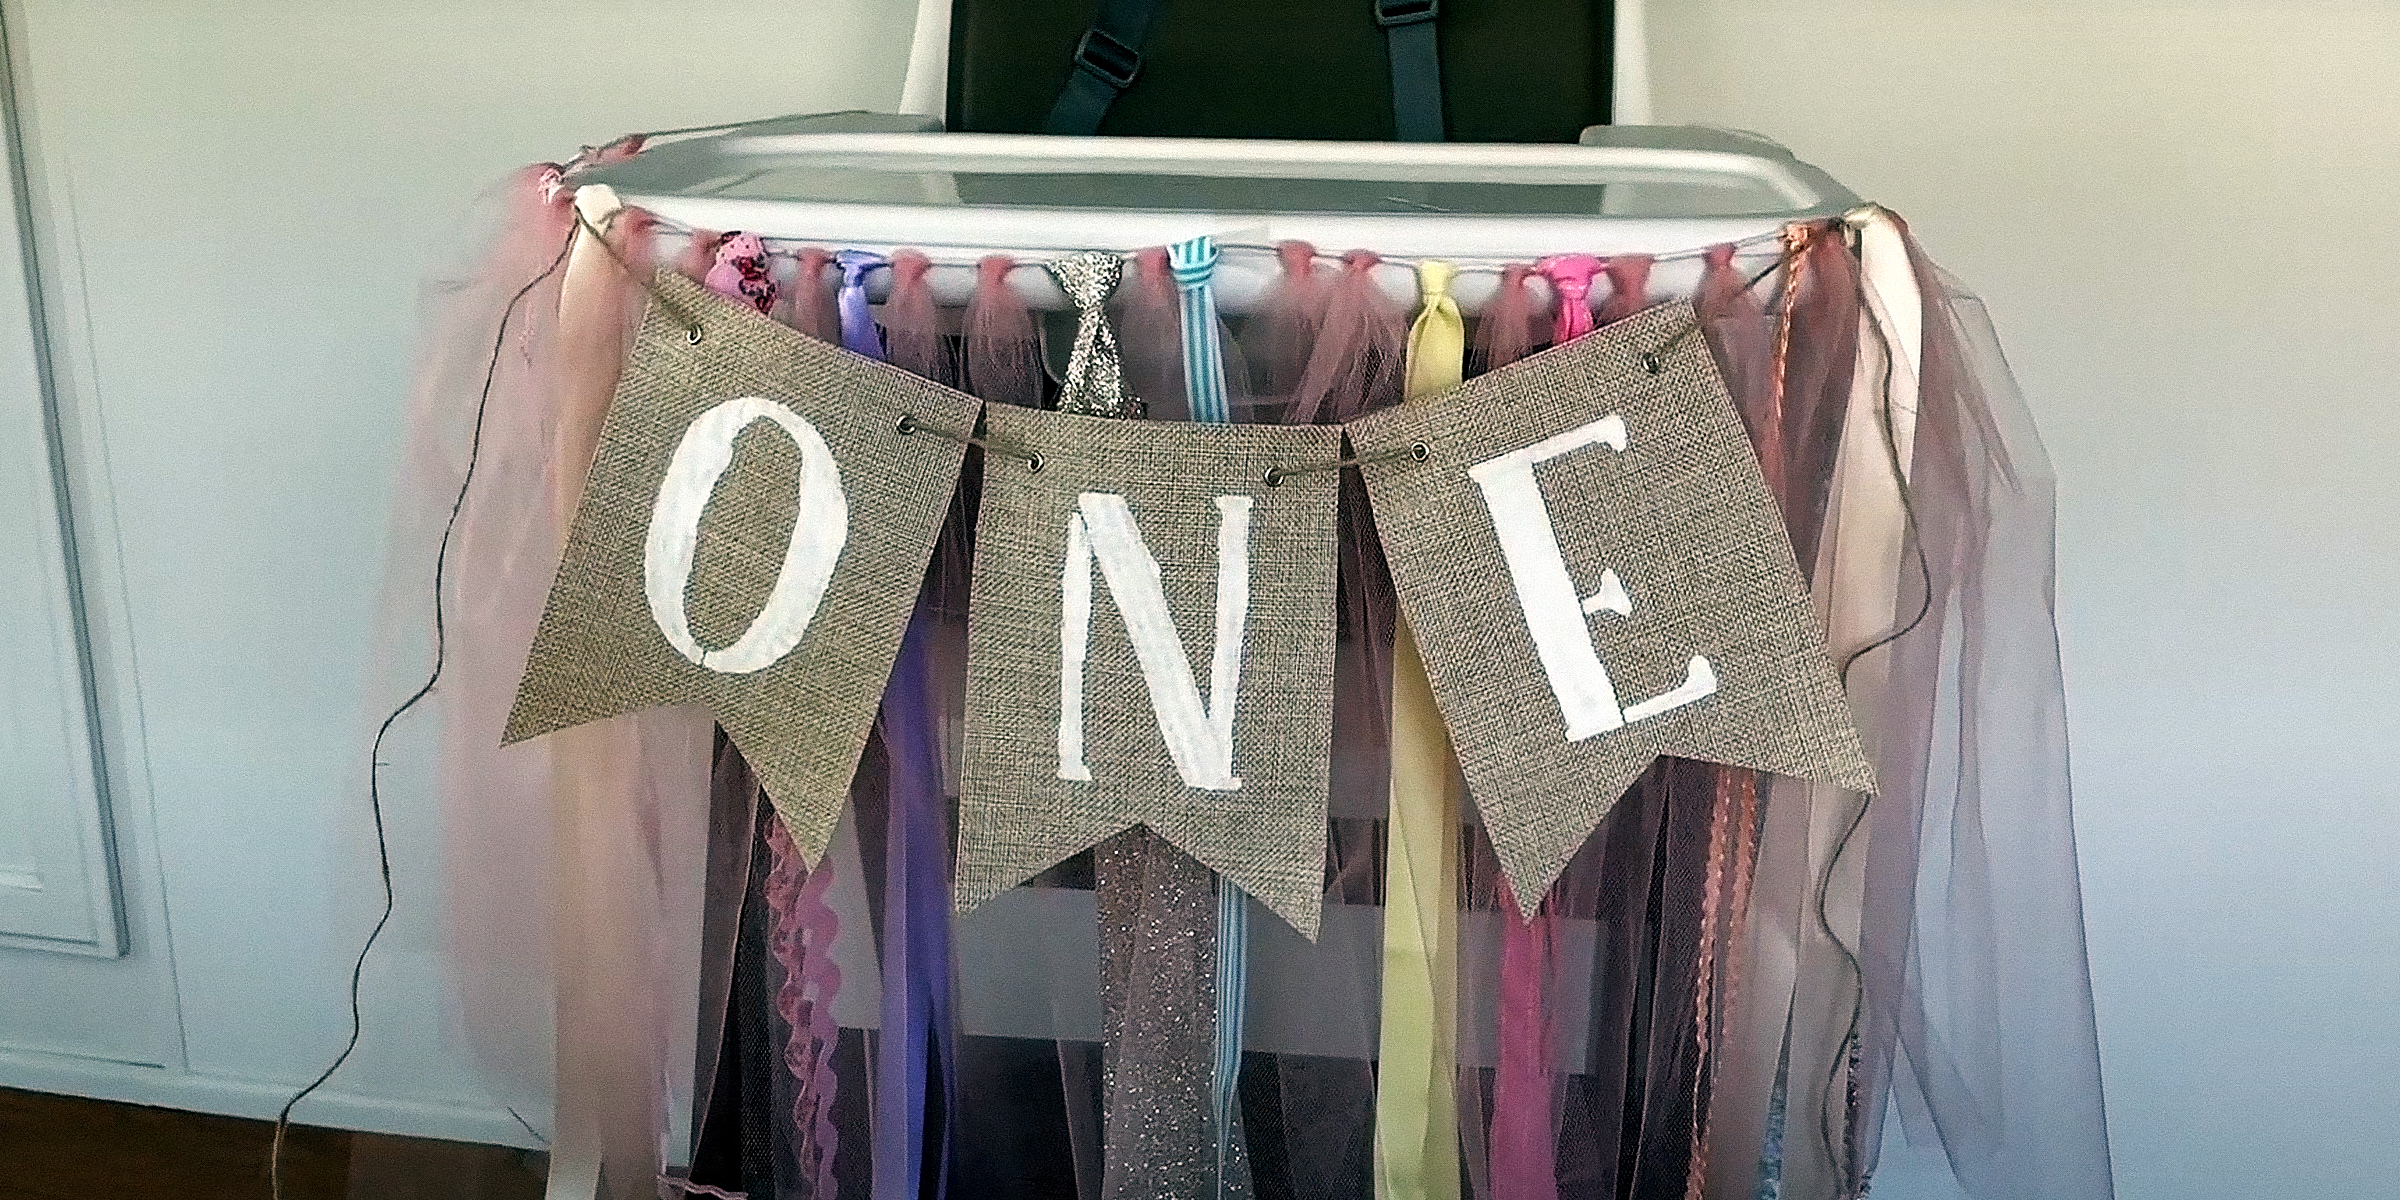
Celebrate your baby’s milestone in style! Crafting a DIY high chair banner is a fun, cost-effective way to add a personal and decorative touch to any special occasion. With simple materials and easy-to-follow steps, this project is perfect for both seasoned crafters and those new to DIY.
Apr 22, 2024

Take the wheel in style and comfort by crafting your very own DIY steering wheel cover! Perfect for enhancing grip and adding a personal touch to your vehicle, this simple project is not only rewarding but also provides a practical upgrade to your driving experience.
Apr 20, 2024
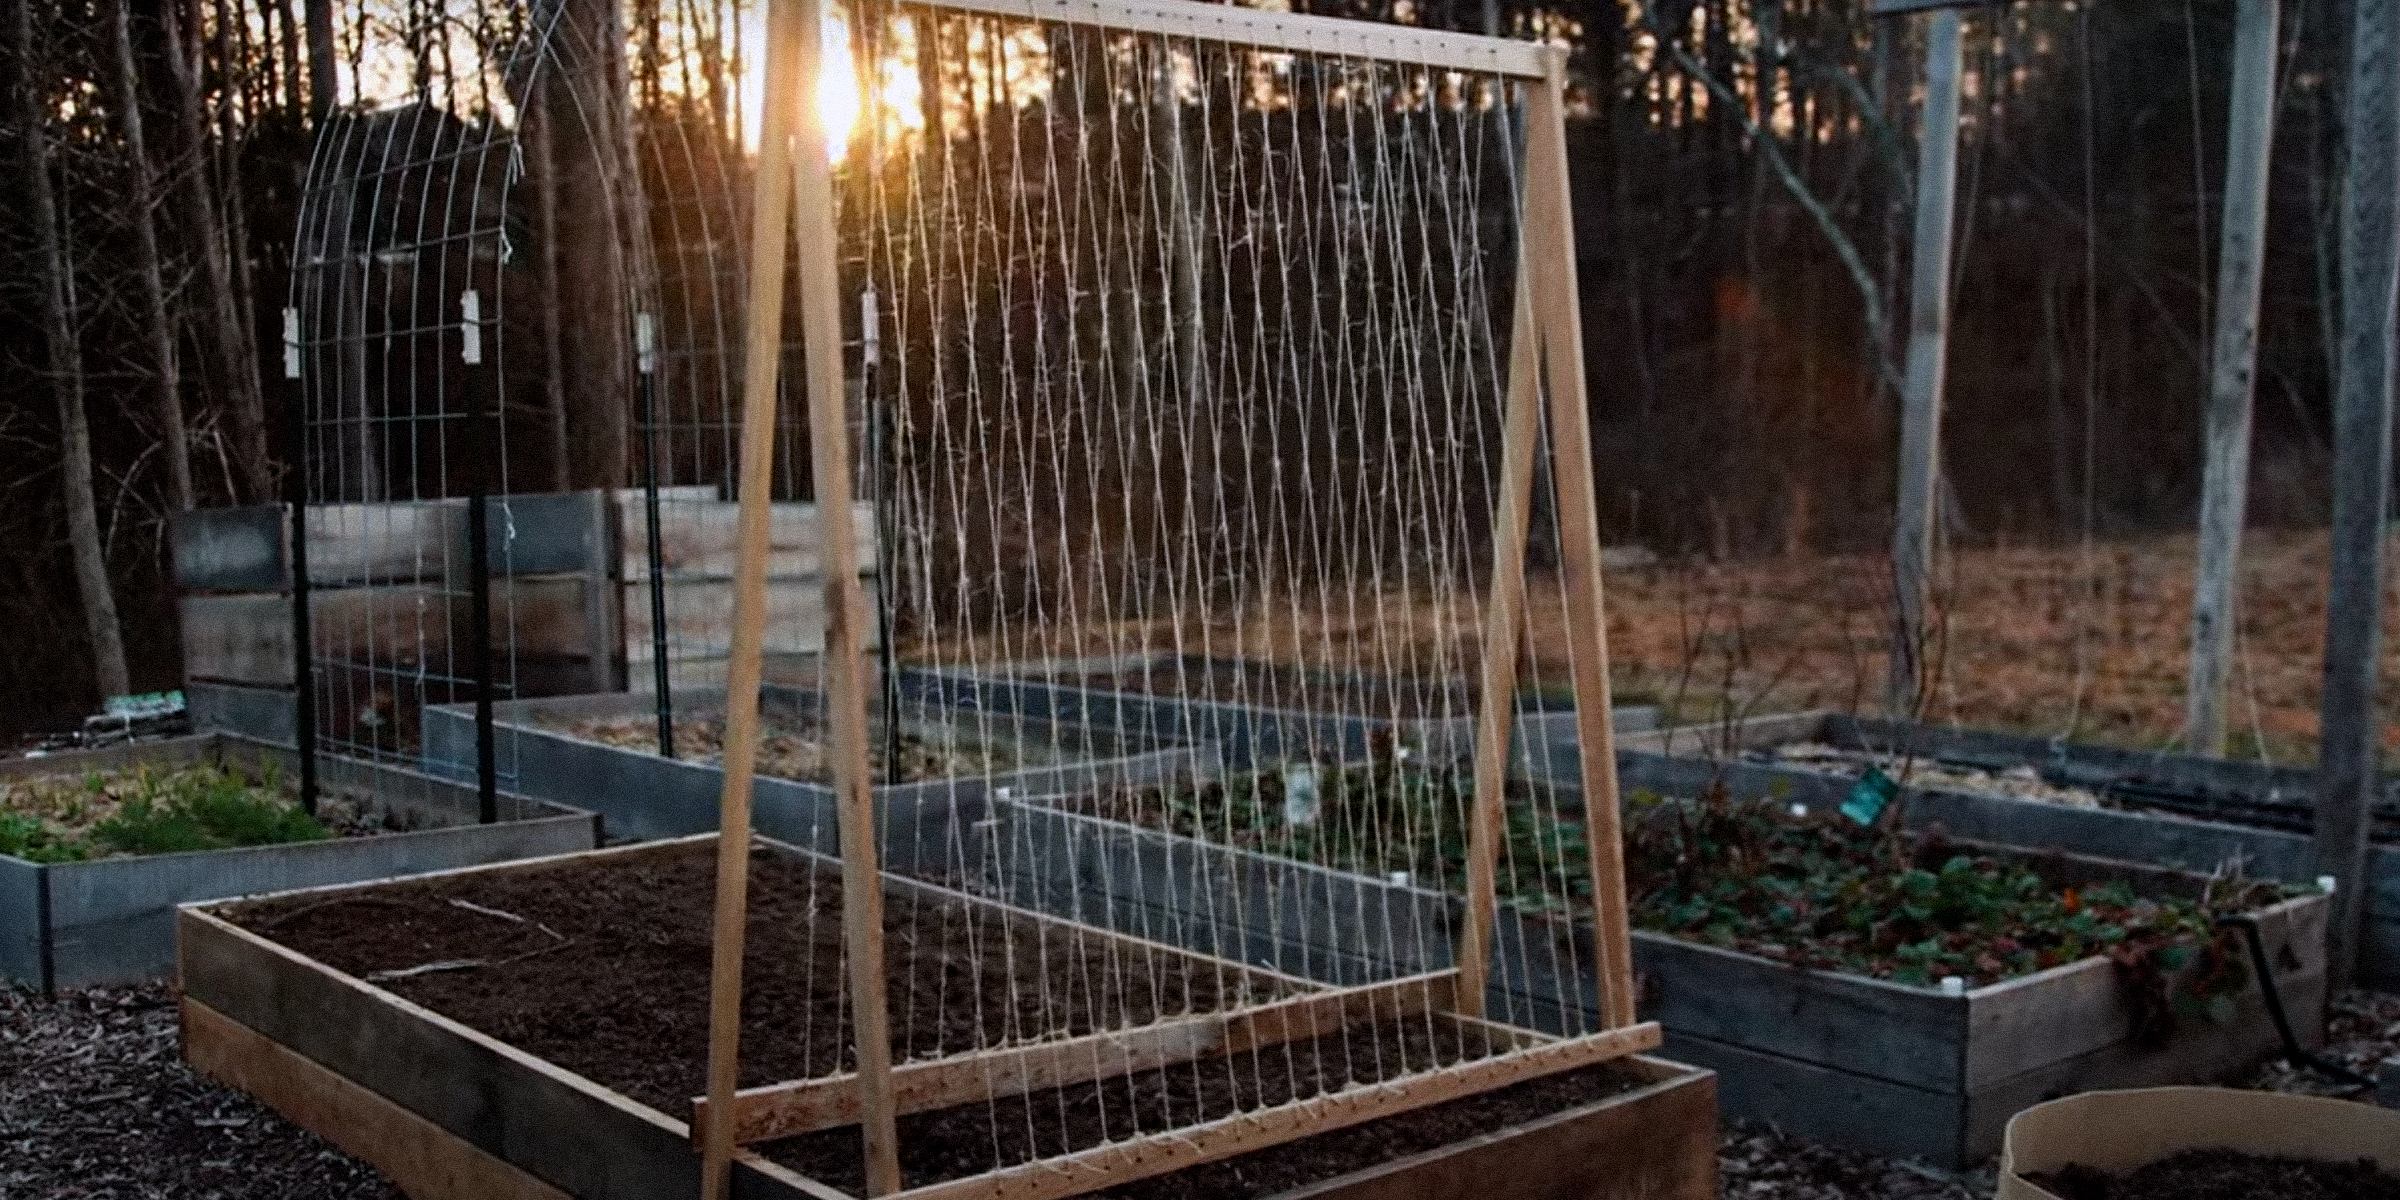
Ready to give your peas the support they need to thrive? Keep reading for a step-by-step guide on how to build your very own pea trellis for the best results possible.
May 03, 2024
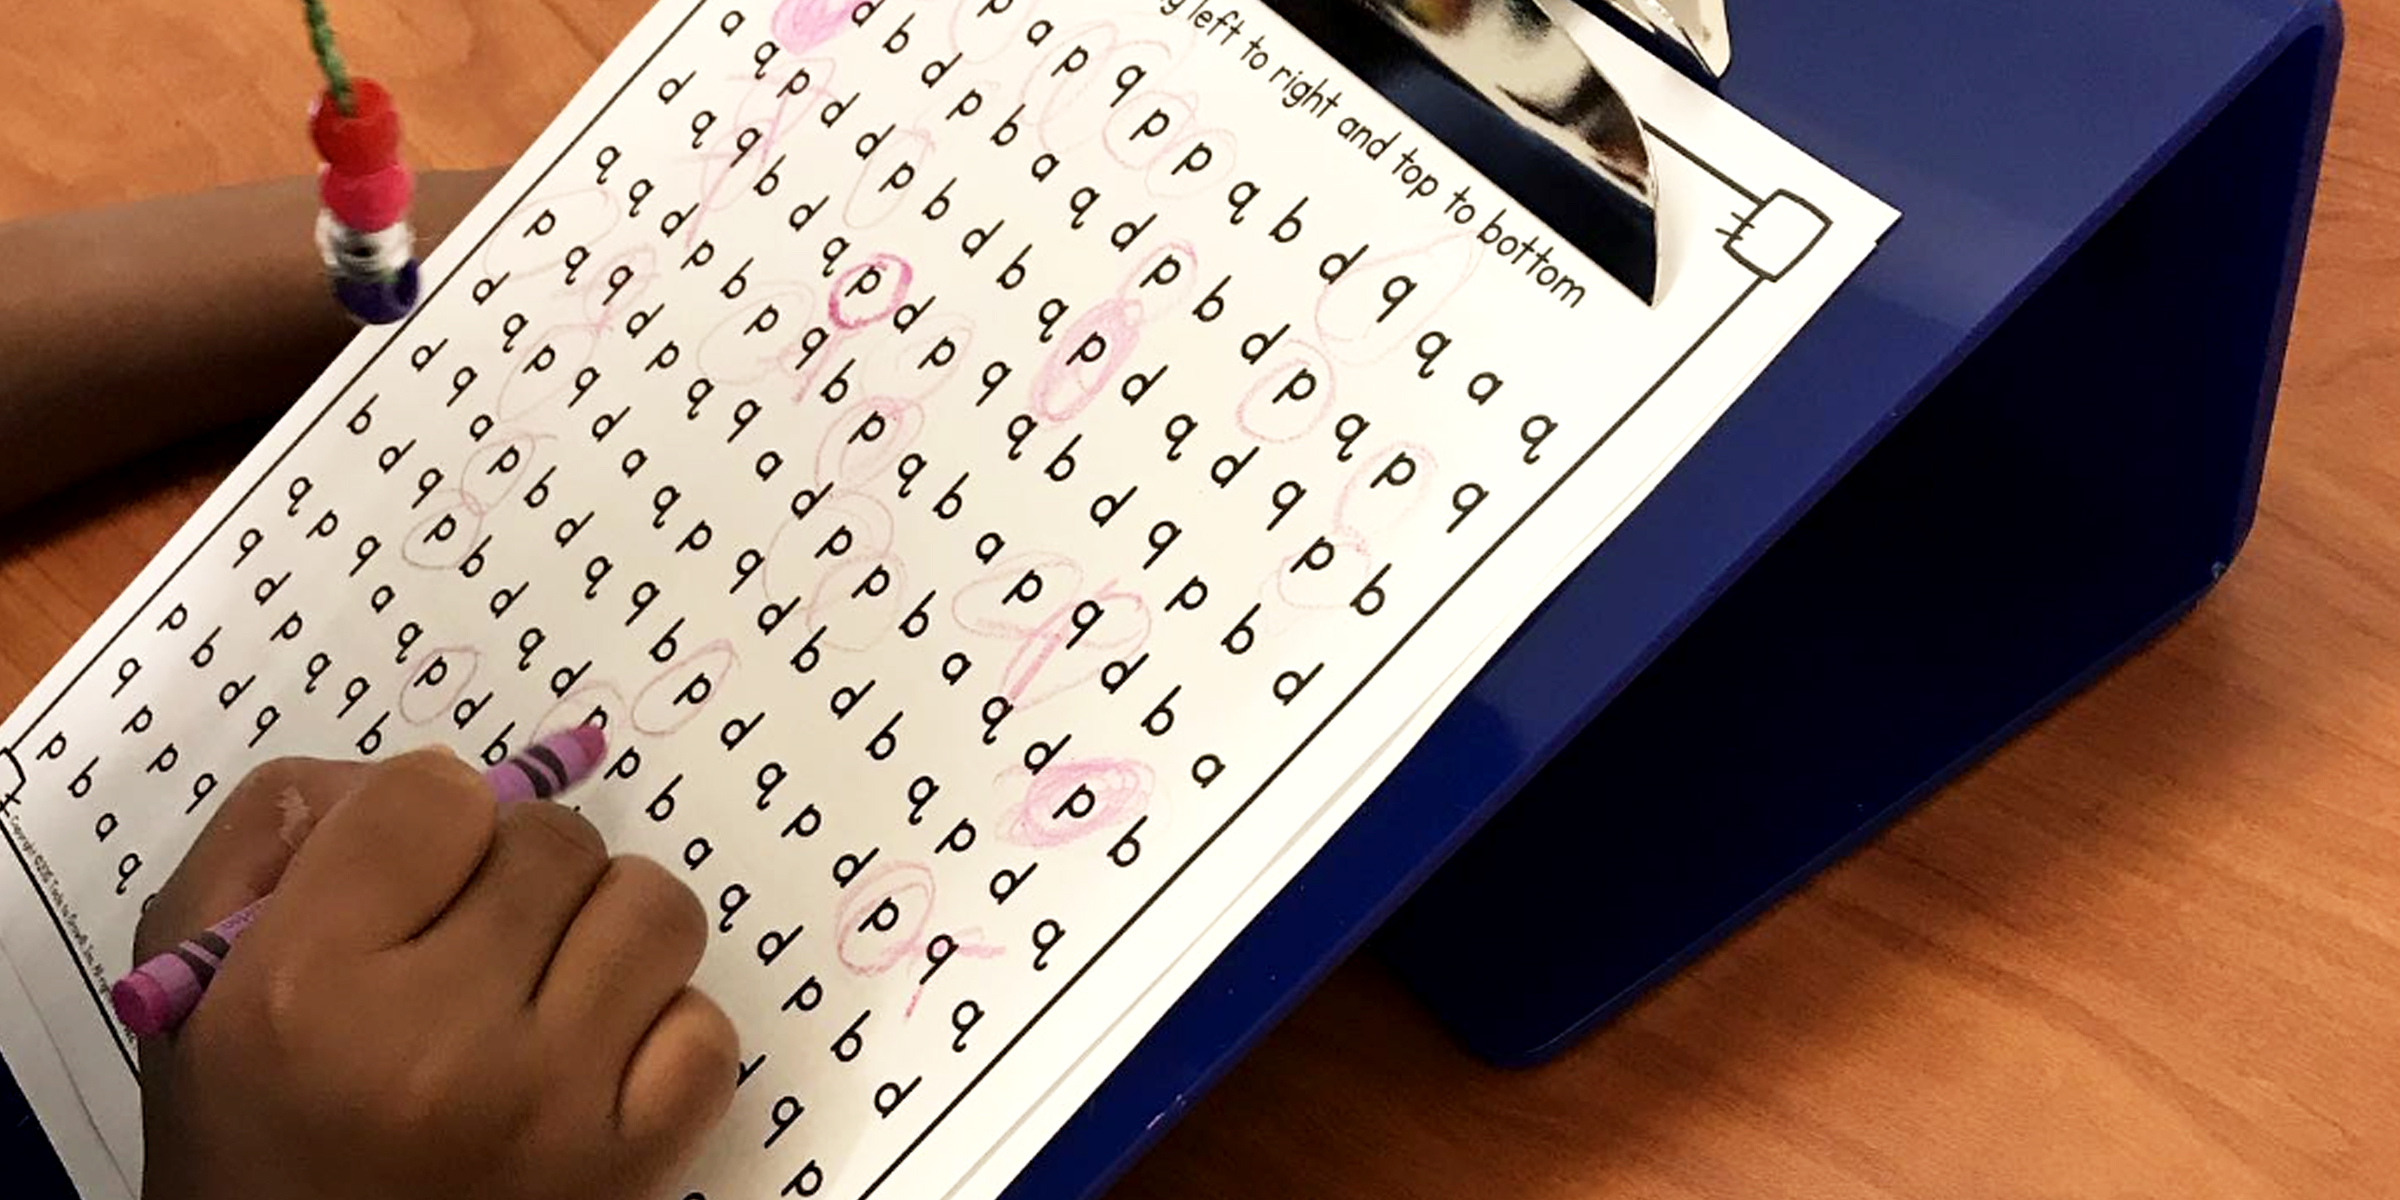
In the era of homeschooling and digital classrooms, the ergonomics of a child's study space can greatly influence their learning experience. A DIY slant board is a simple yet effective tool that not only enhances posture but also promotes better handwriting and focus.
Apr 19, 2024
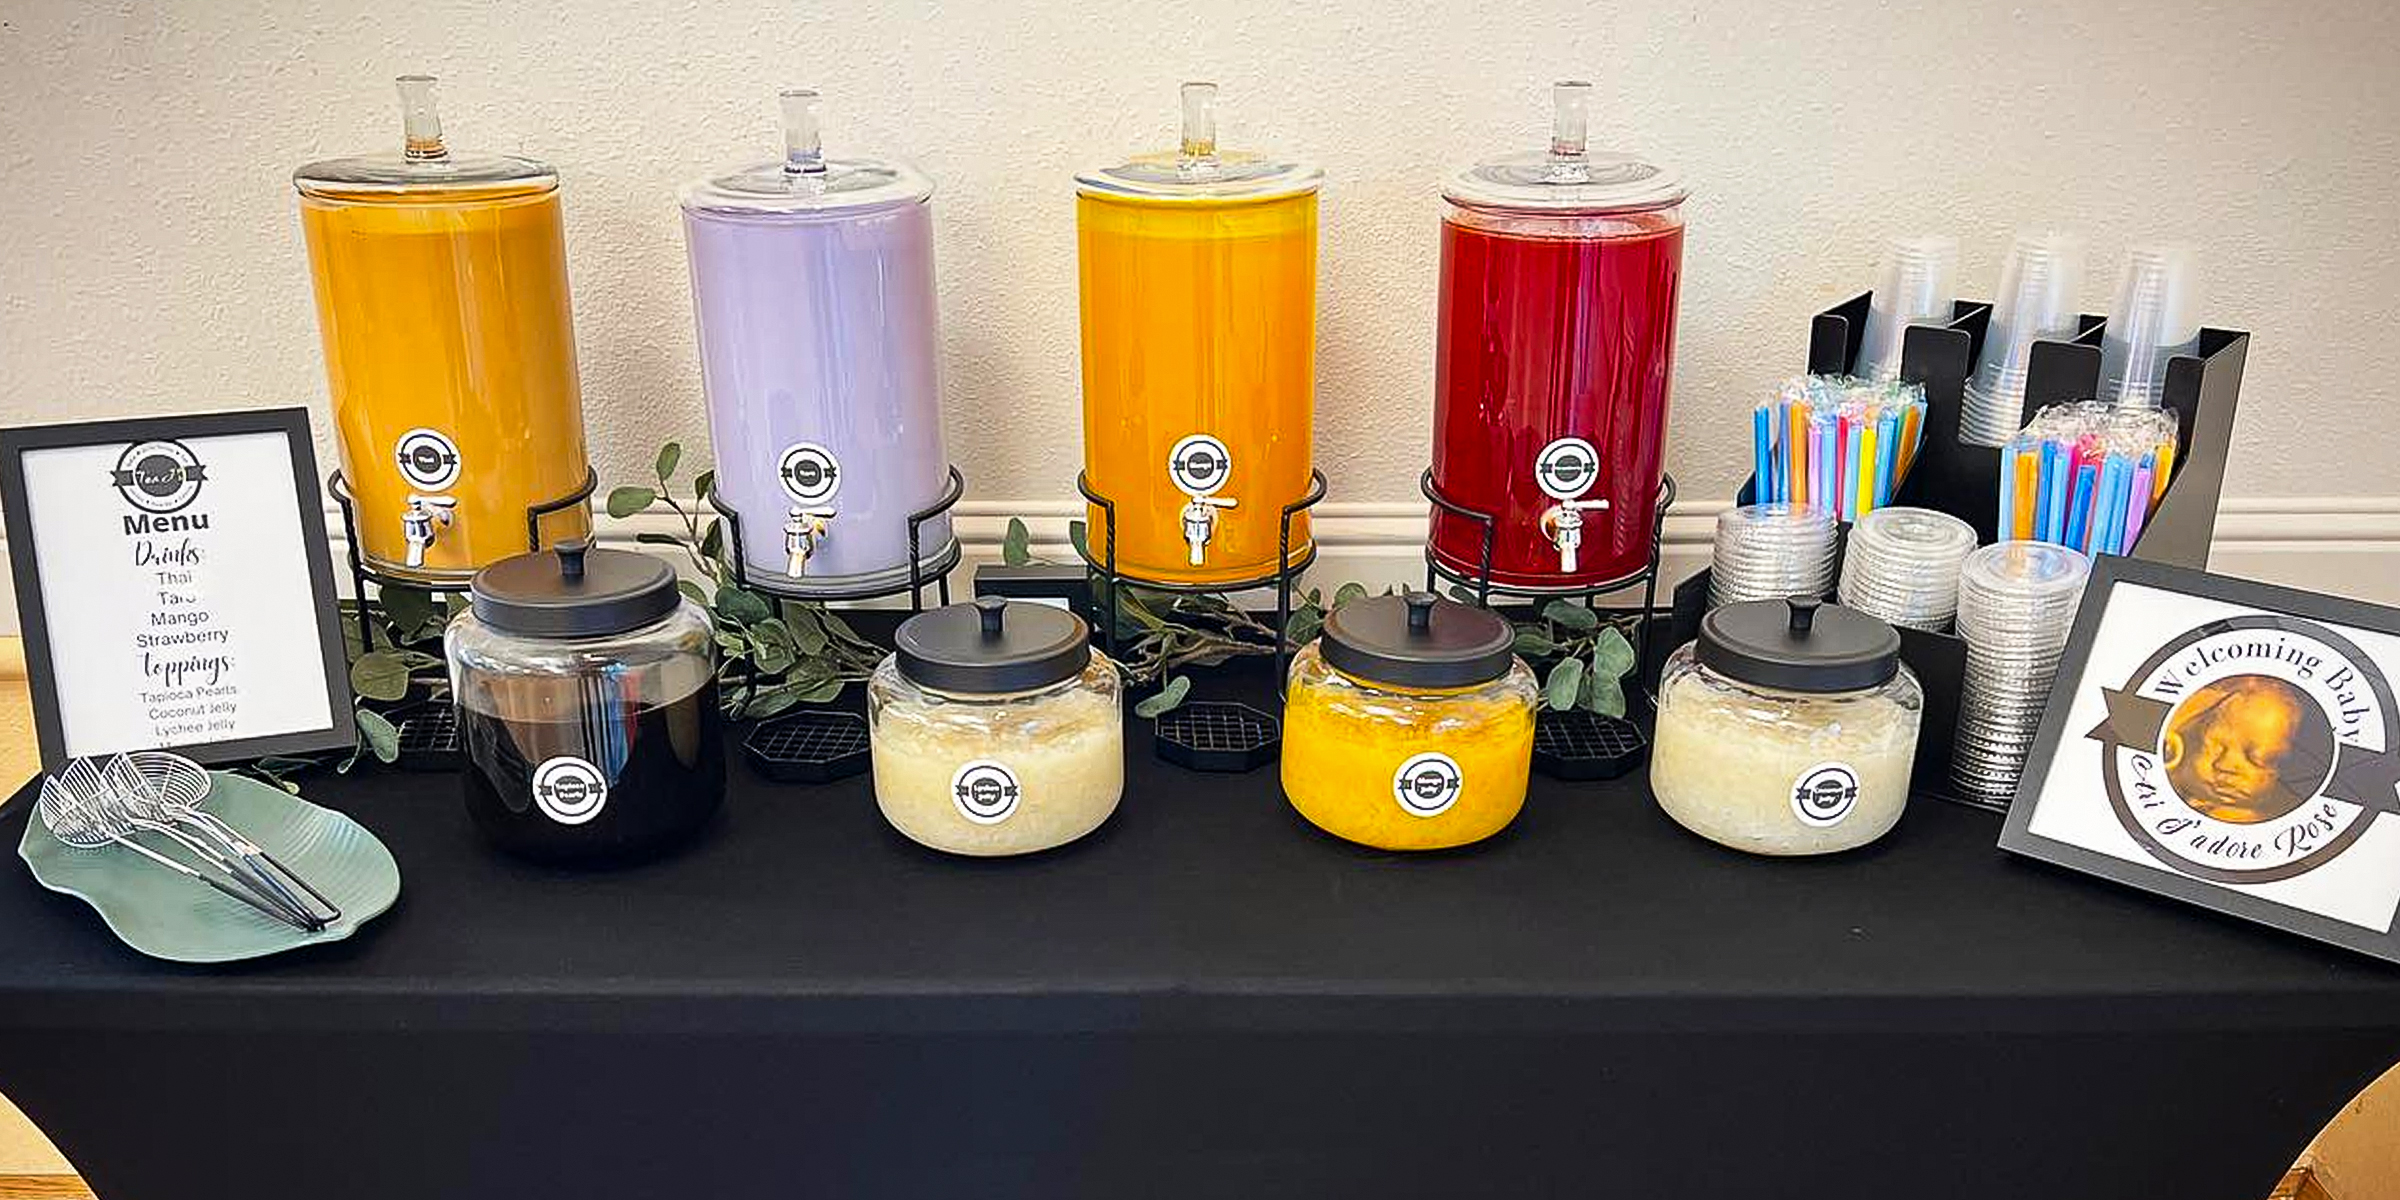
To elevate your next soirée with a DIY Boba bar, continue reading for the essentials to give your guests the perfect Boba tea experience they will never forget.
Feb 07, 2024

Dive into the rejuvenating world of cold water therapy with our straightforward guide to creating your very own DIY cold plunge container. Get ready to unlock the secrets to crafting a homemade cold plunge container that promises the icy embrace of wellness without the luxury expense.
Apr 14, 2024
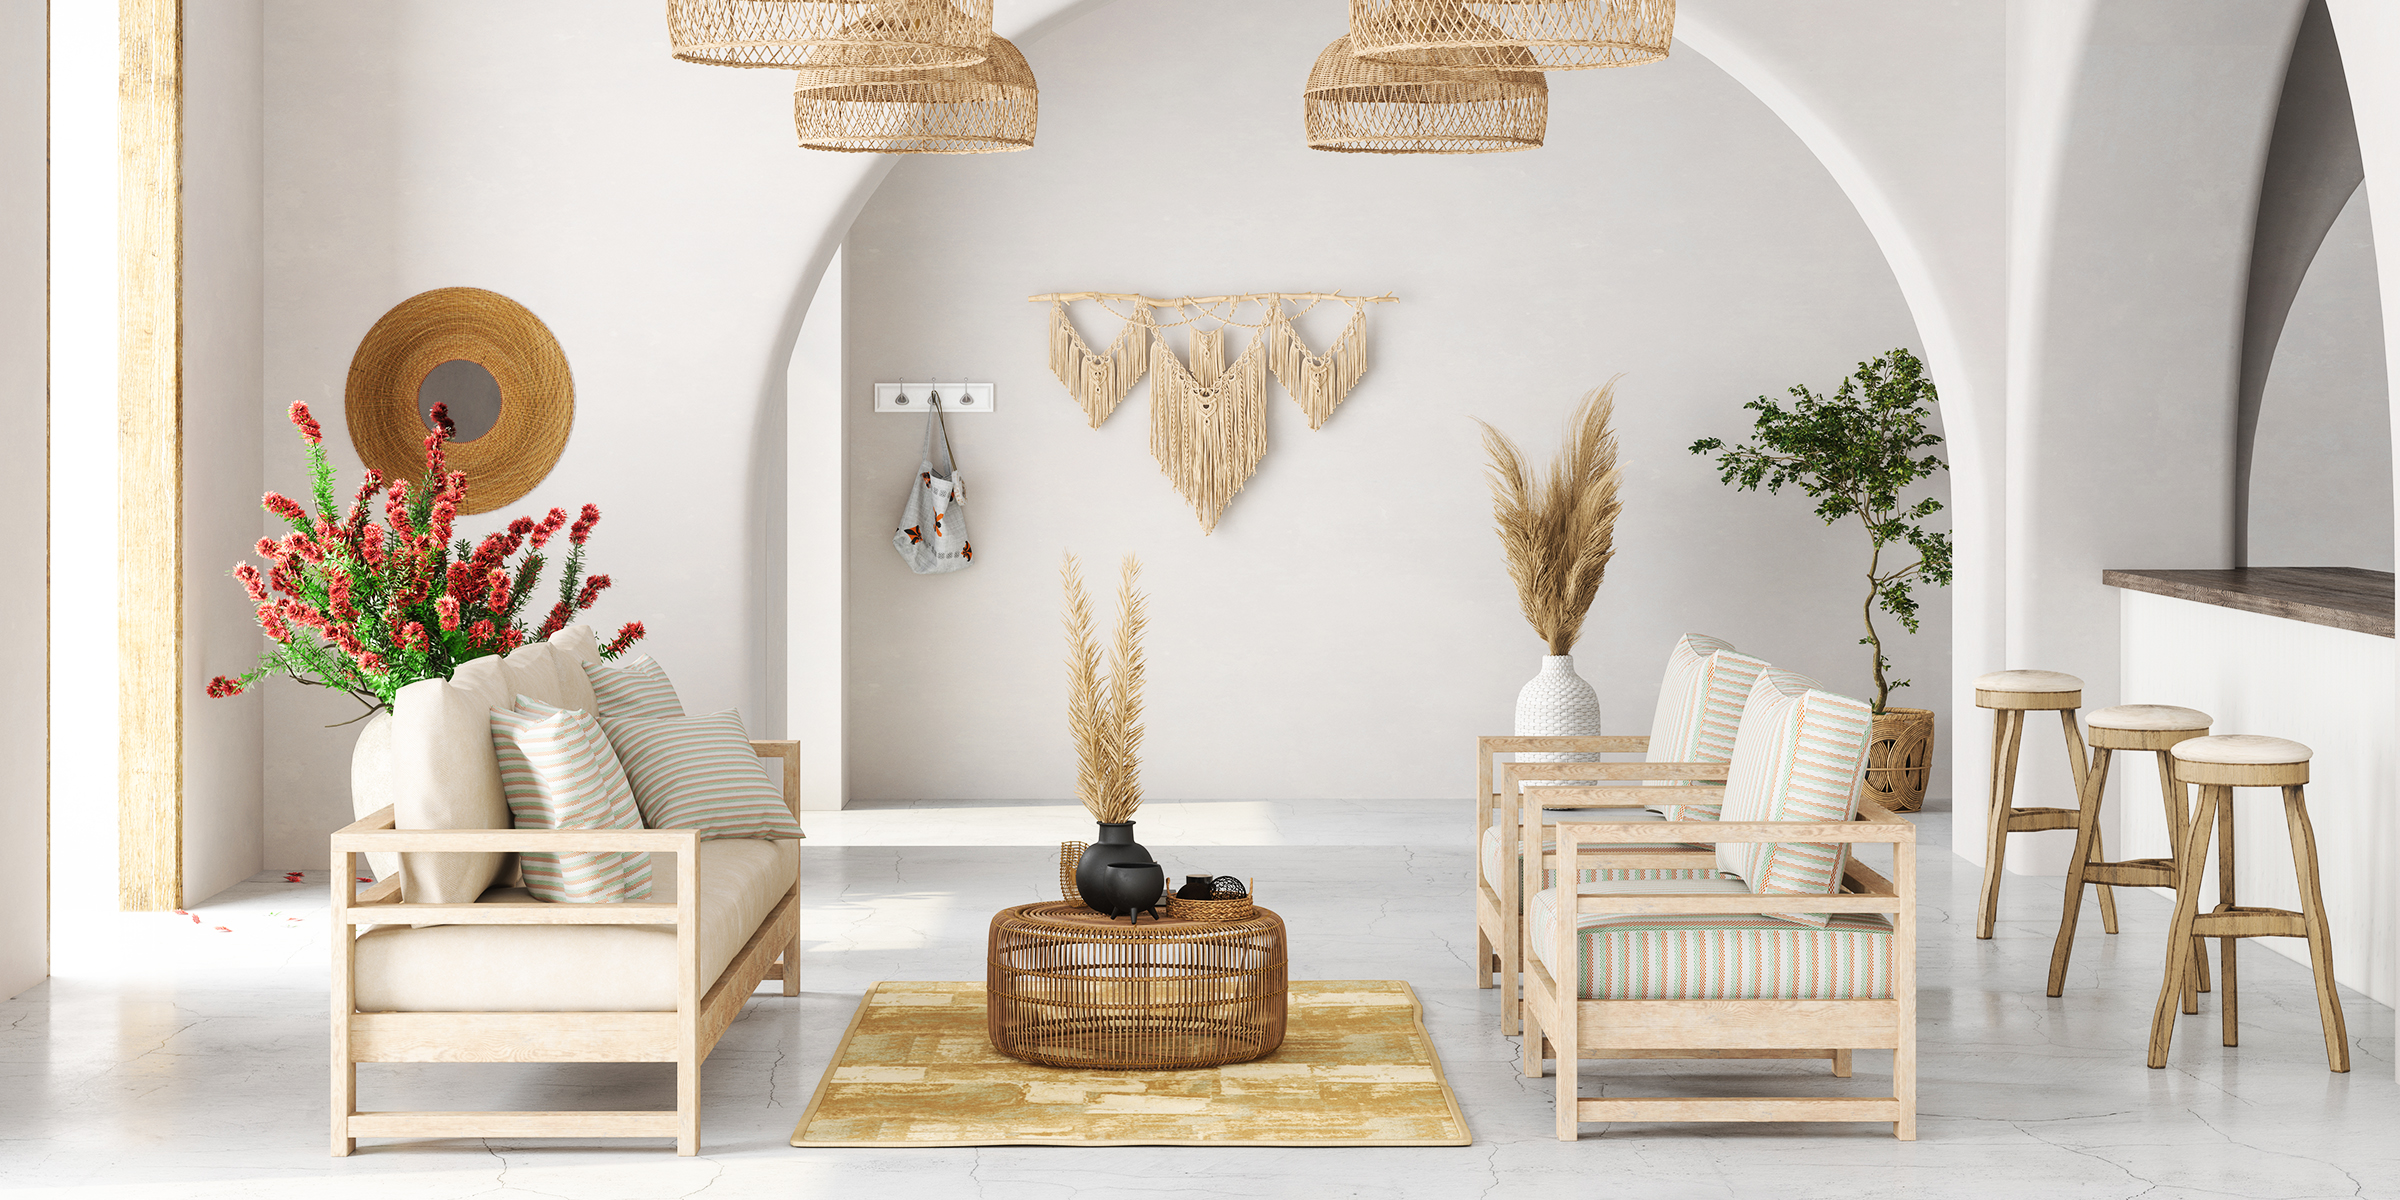
If you're looking to create the perfect balance of boho and rustic in your living room, continue reading for essential interior design tips to perfectly encapsulate the charming touch and natural finish of these two styles.
Jan 29, 2024

Create a space that promotes independence and a thirst for knowledge in your child, all in the comfort of your home, with this helpful DIY Montessori bookshelf guide.
Feb 04, 2024