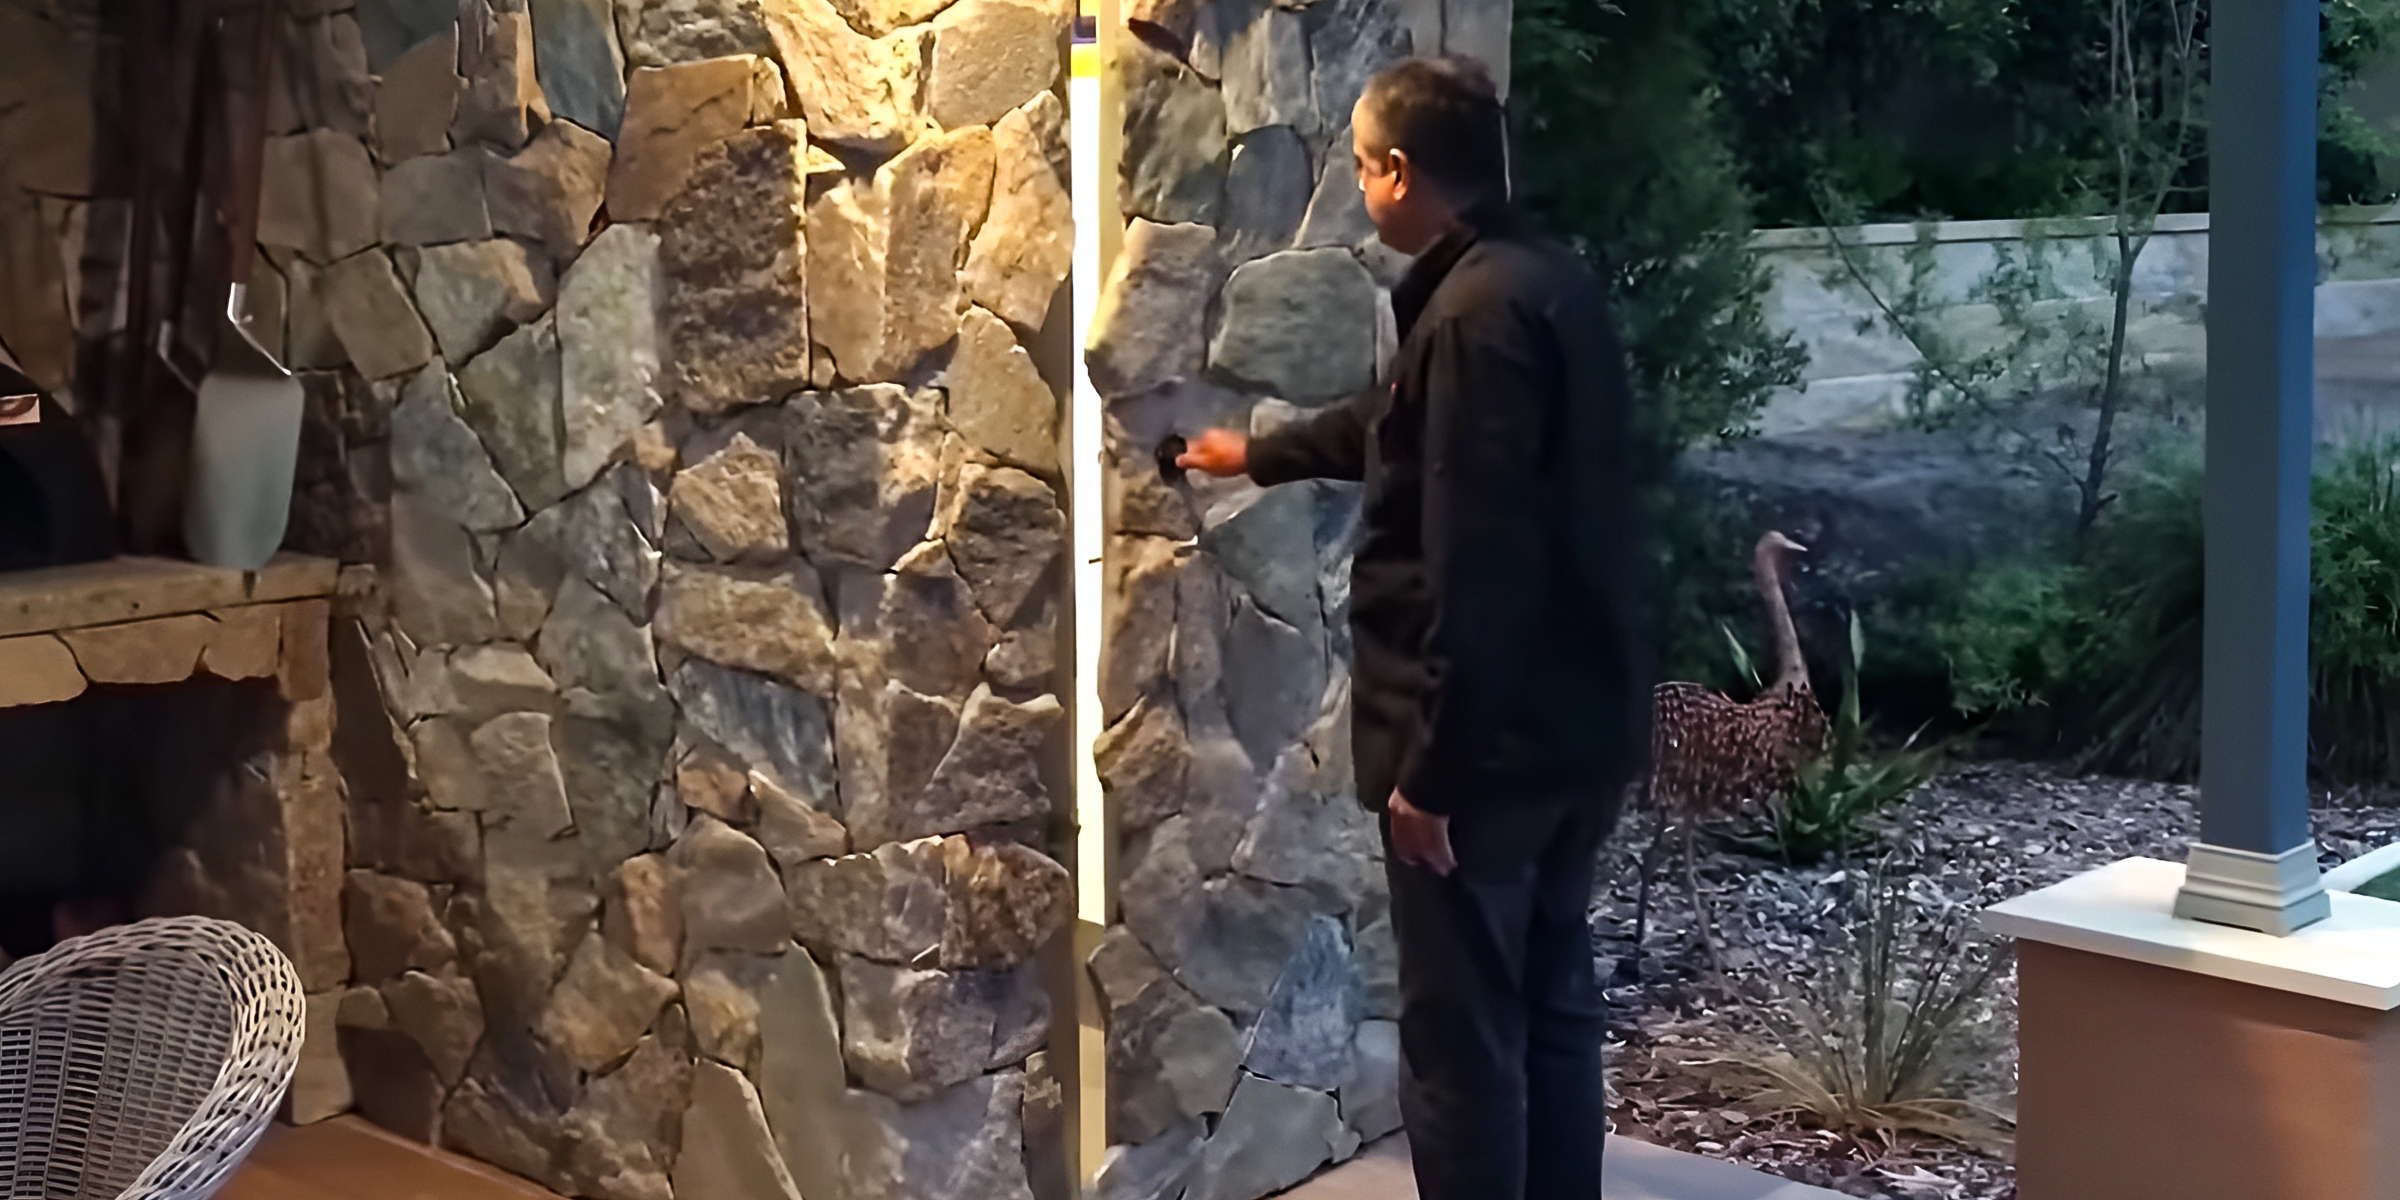
How to Make a Murphy Door — DIY Outswing Installation Guide
Mar 12, 2024


Embark on a crafting journey that weaves together simplicity and elegance, as we explore the art of creating a ribbon rosette with this detailed guide that unfolds the secrets behind transforming ordinary ribbons into exquisite accessories.
Ribbon rosettes are a timeless accessory, perfect for adorning outfits, enhancing home decor, or adding a personalized touch to celebrations.
Each fold, each stitch, and every choice of embellishment plays a pivotal role in the creation of a ribbon rosette, and by breaking down the process into detailed steps, this guide will ensure your crafting journey is as enriching as the beautiful rosette you aim to create.

A red first place ribbon rosette | Source: Getty Images
Step 1: Curating Your Crafting Kit
Before diving into the folds and stitches, assembling a well-thought-out toolkit is crucial:

A purple ribbon rosette | Source: Getty Images
Start by trimming any frayed edges to give your ribbon a crisp beginning. Fold the end of the ribbon inward twice to conceal any raw edges, pressing with your fingers or an iron to secure the folds.
Transform your ribbon into a triangle by folding it diagonally, ensuring the tip of the triangle aligns with the bottom of your initial folds. This step is the cornerstone of your rosette's shape, so pin it securely.

1st, 2nd, and 3rd place ribbon rosettes | Source: Getty Images
Continue creating triangular folds, pinning each one to keep them aligned at the center. This repetitive action builds the rosette’s layered look, so take your time to adjust and align each fold precisely.
As your rosette begins to take shape, the final fold requires tucking the ribbon end under the initial fold. This step may need careful adjustment to ensure the rosette sits flat and the circle is complete.

A collection of ribbon rosettes | Source: Getty Images
Inspect the back of your rosette, ensuring all folds are securely pinned. Then, trim the excess ribbon tail, leaving enough length to fold it over and cover the center point of the rosette, enhancing its stability.
Choose your securing method based on your tool preference. Stitch, sew, or glue the folds from the back to permanently set your rosette's shape. This is where your craftsmanship shines, as each method offers a different finishing touch.

A man wearing multiple ribbon rosettes | Source: Getty Images
Ironing your rosette can elevate its look, especially if you're using a ribbon prone to creases. Use a protective cloth to prevent heat damage to delicate fabrics.
Adding additional tiers can transform your rosette from a simple accessory to a focal piece. Attach new ribbon layers to the back, ensuring each is secured with the same meticulous care as the first.
Affixing a central embellishment not only conceals your work's nucleus but also adds a personalized charm. Choose an embellishment that complements your ribbon and the overall aesthetic of your rosette. Lastly, admire your amazing work!

Multiple, different-colored ribbon rosettes | Source: Getty Images
Crafting a ribbon rosette is a testament to the joy of making something by hand, a blend of creativity, precision, and personal expression. Explore other variants on how to make a ribbon rosette for more fun ways of creative expression.
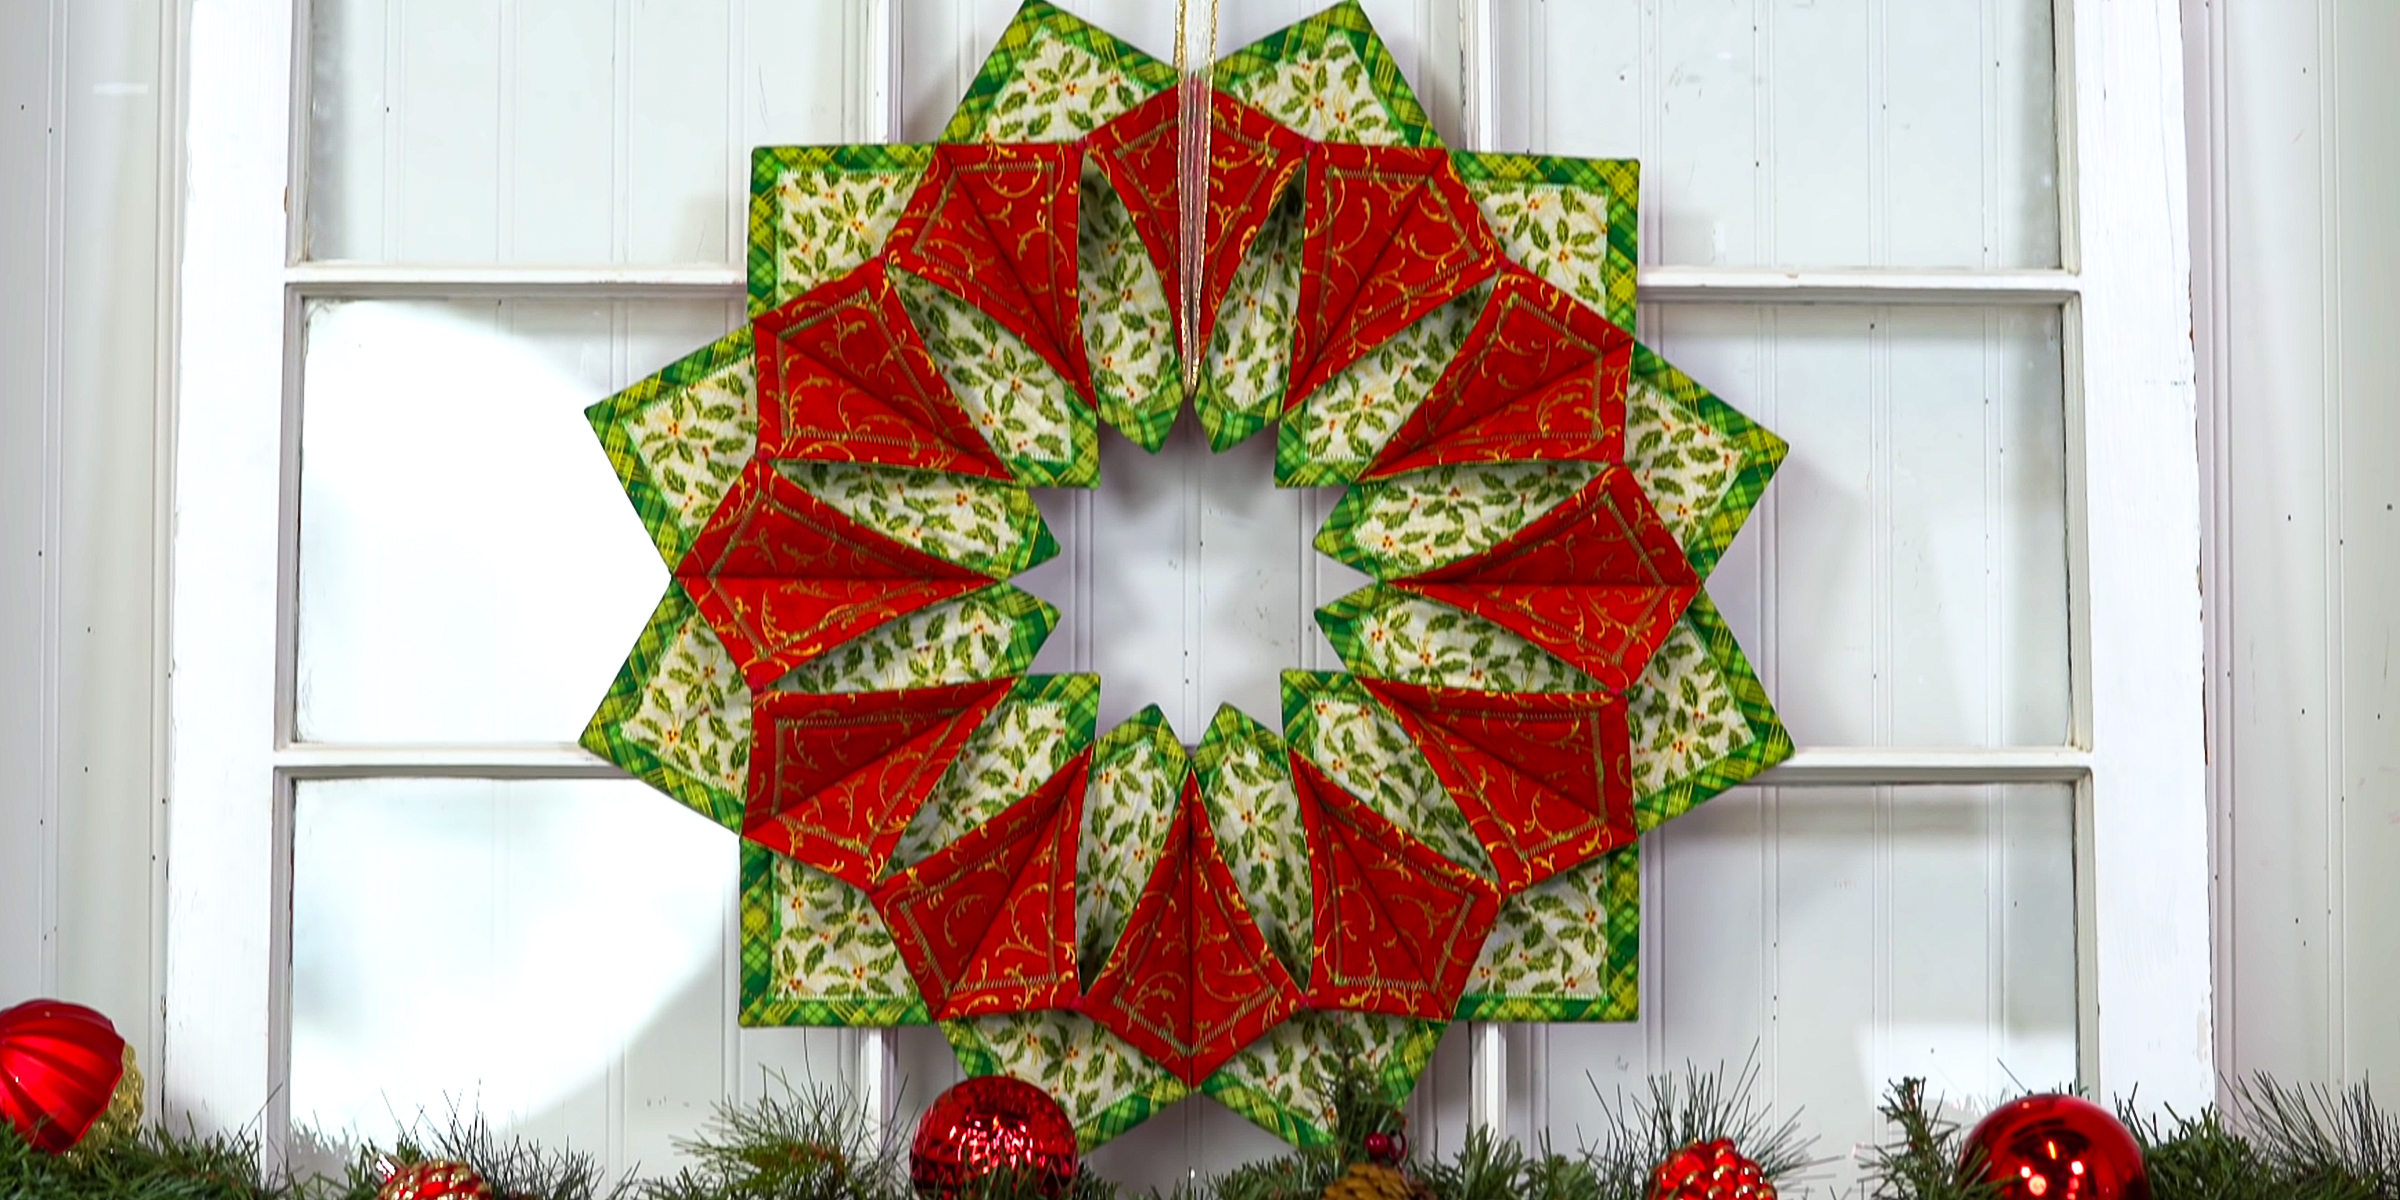
Eager to explore more? Enjoy our guide on how to make a fold-and-stitch wreath and continue your crafting journey, discovering new techniques, and embracing the endless possibilities of DIY projects. Your next masterpiece awaits!
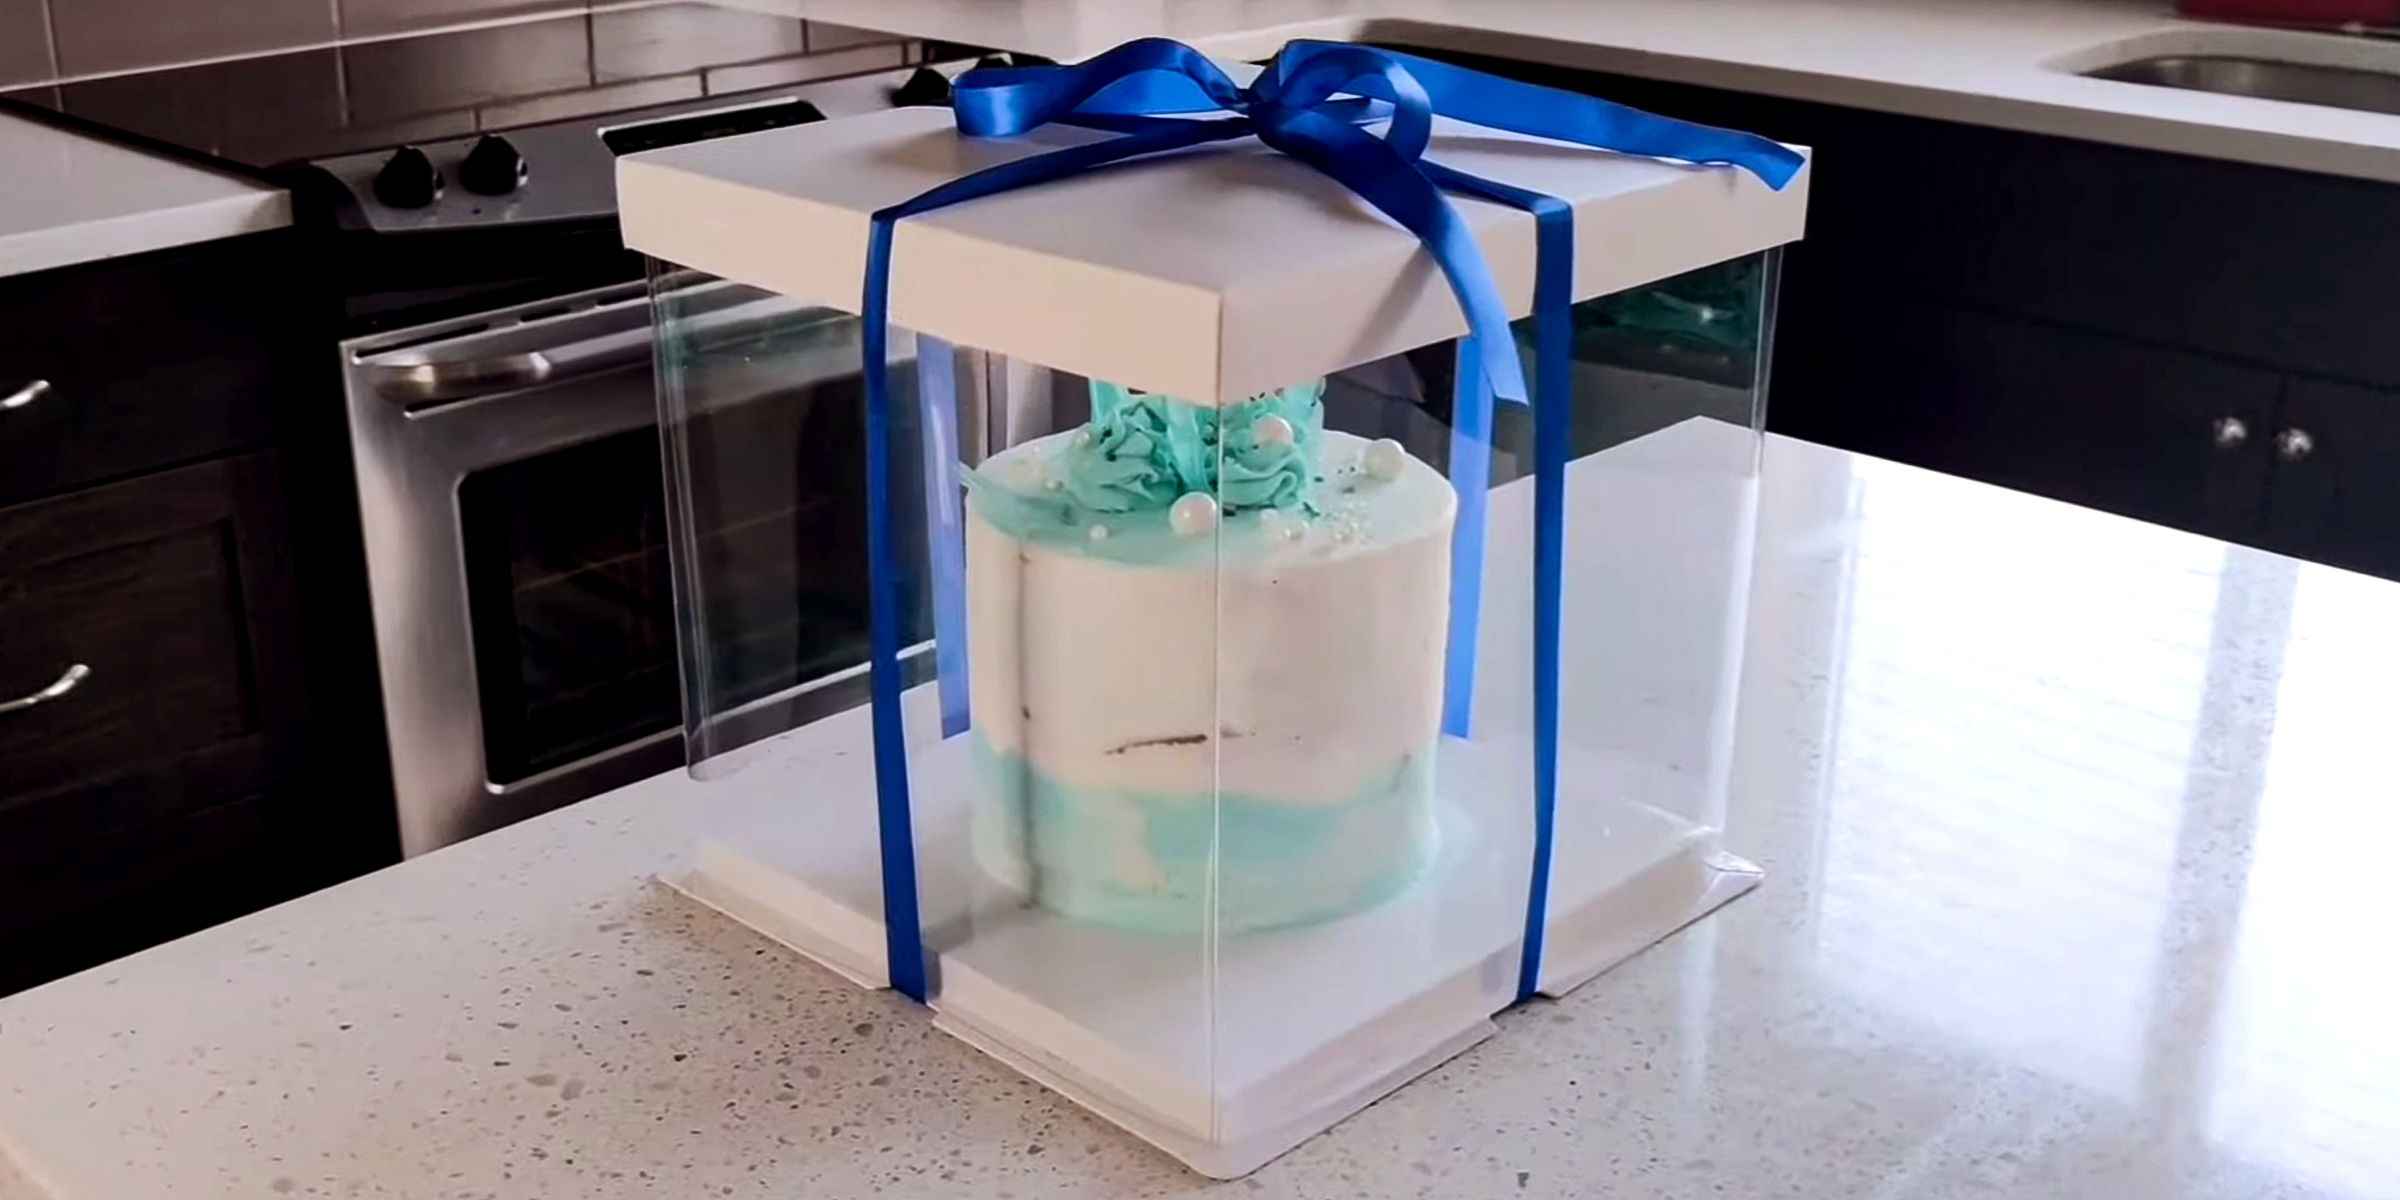
Eager to learn the art of making cake box? Whether you're a baking enthusiast looking to present your creations in style or a DIY crafter eager to add a personal touch to gifts, this step-by-step tutorial on how to make a cake box will transform your packaging game.
Mar 07, 2024
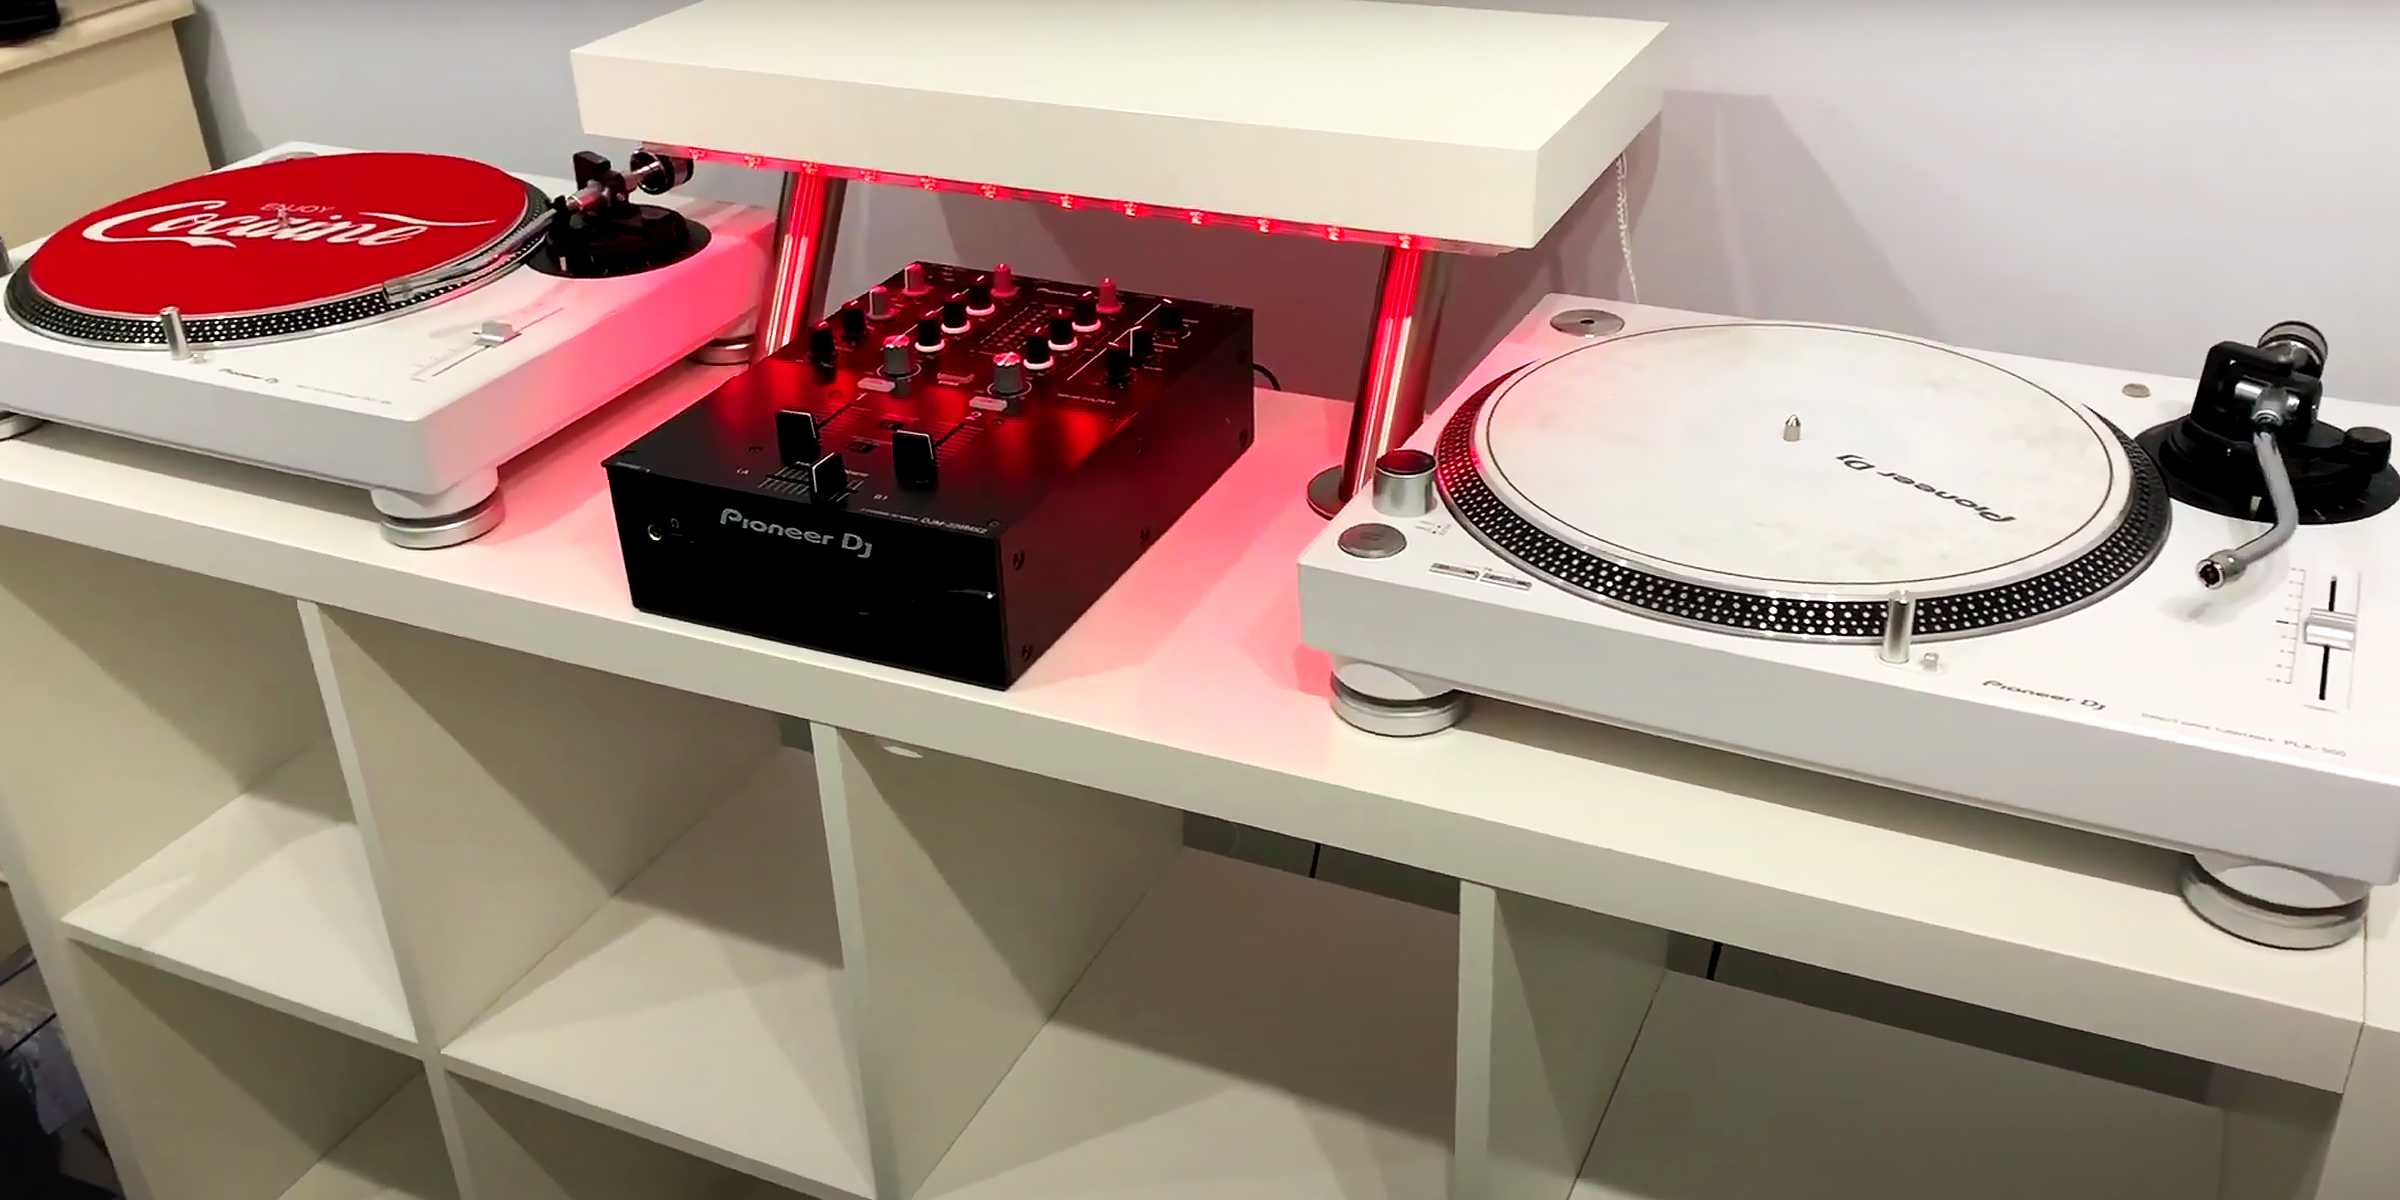
Discover how to transform your space into a DJ's dream with our guide to crafting a DIY DJ booth. From assembling IKEA furniture to adding personalized touches. It's time to unleash your creativity and elevate your DJing experience.
Feb 17, 2024

Seeking a snugger fit for your favorite sweatshirt sleeves? Discover how to make sleeves tighter with our easy, no-sew DIY hacks that transform baggy into tailored in minutes.
Mar 05, 2024
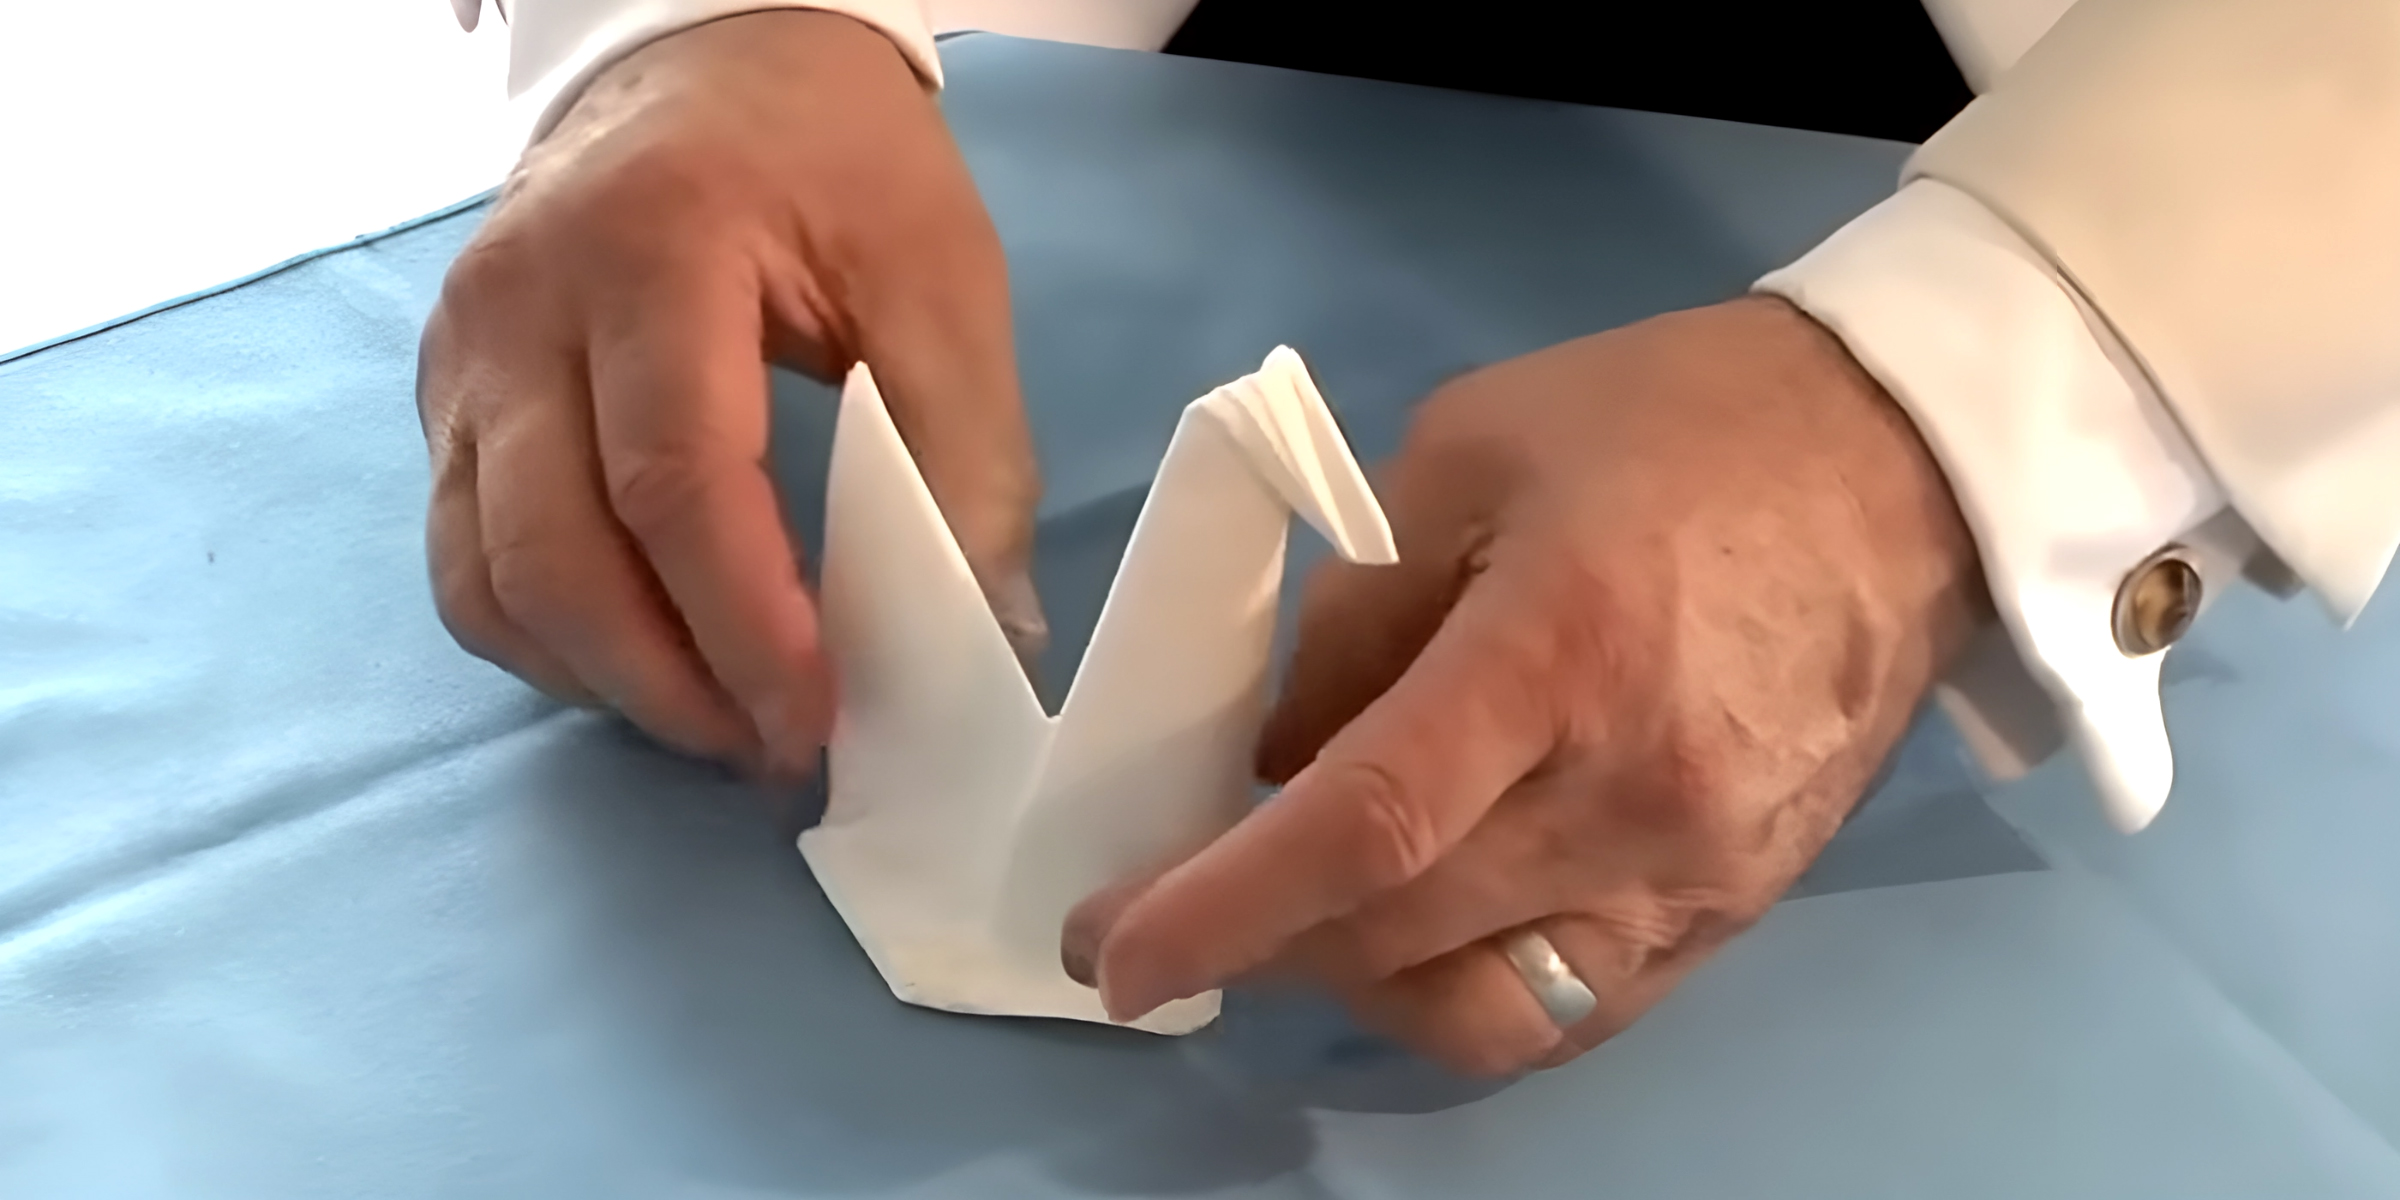
Are you looking to elevate your napkin folding game for a special occasion? Unleash your creative flair and learn how to make a napkin swan with these simple steps!
Feb 27, 2024
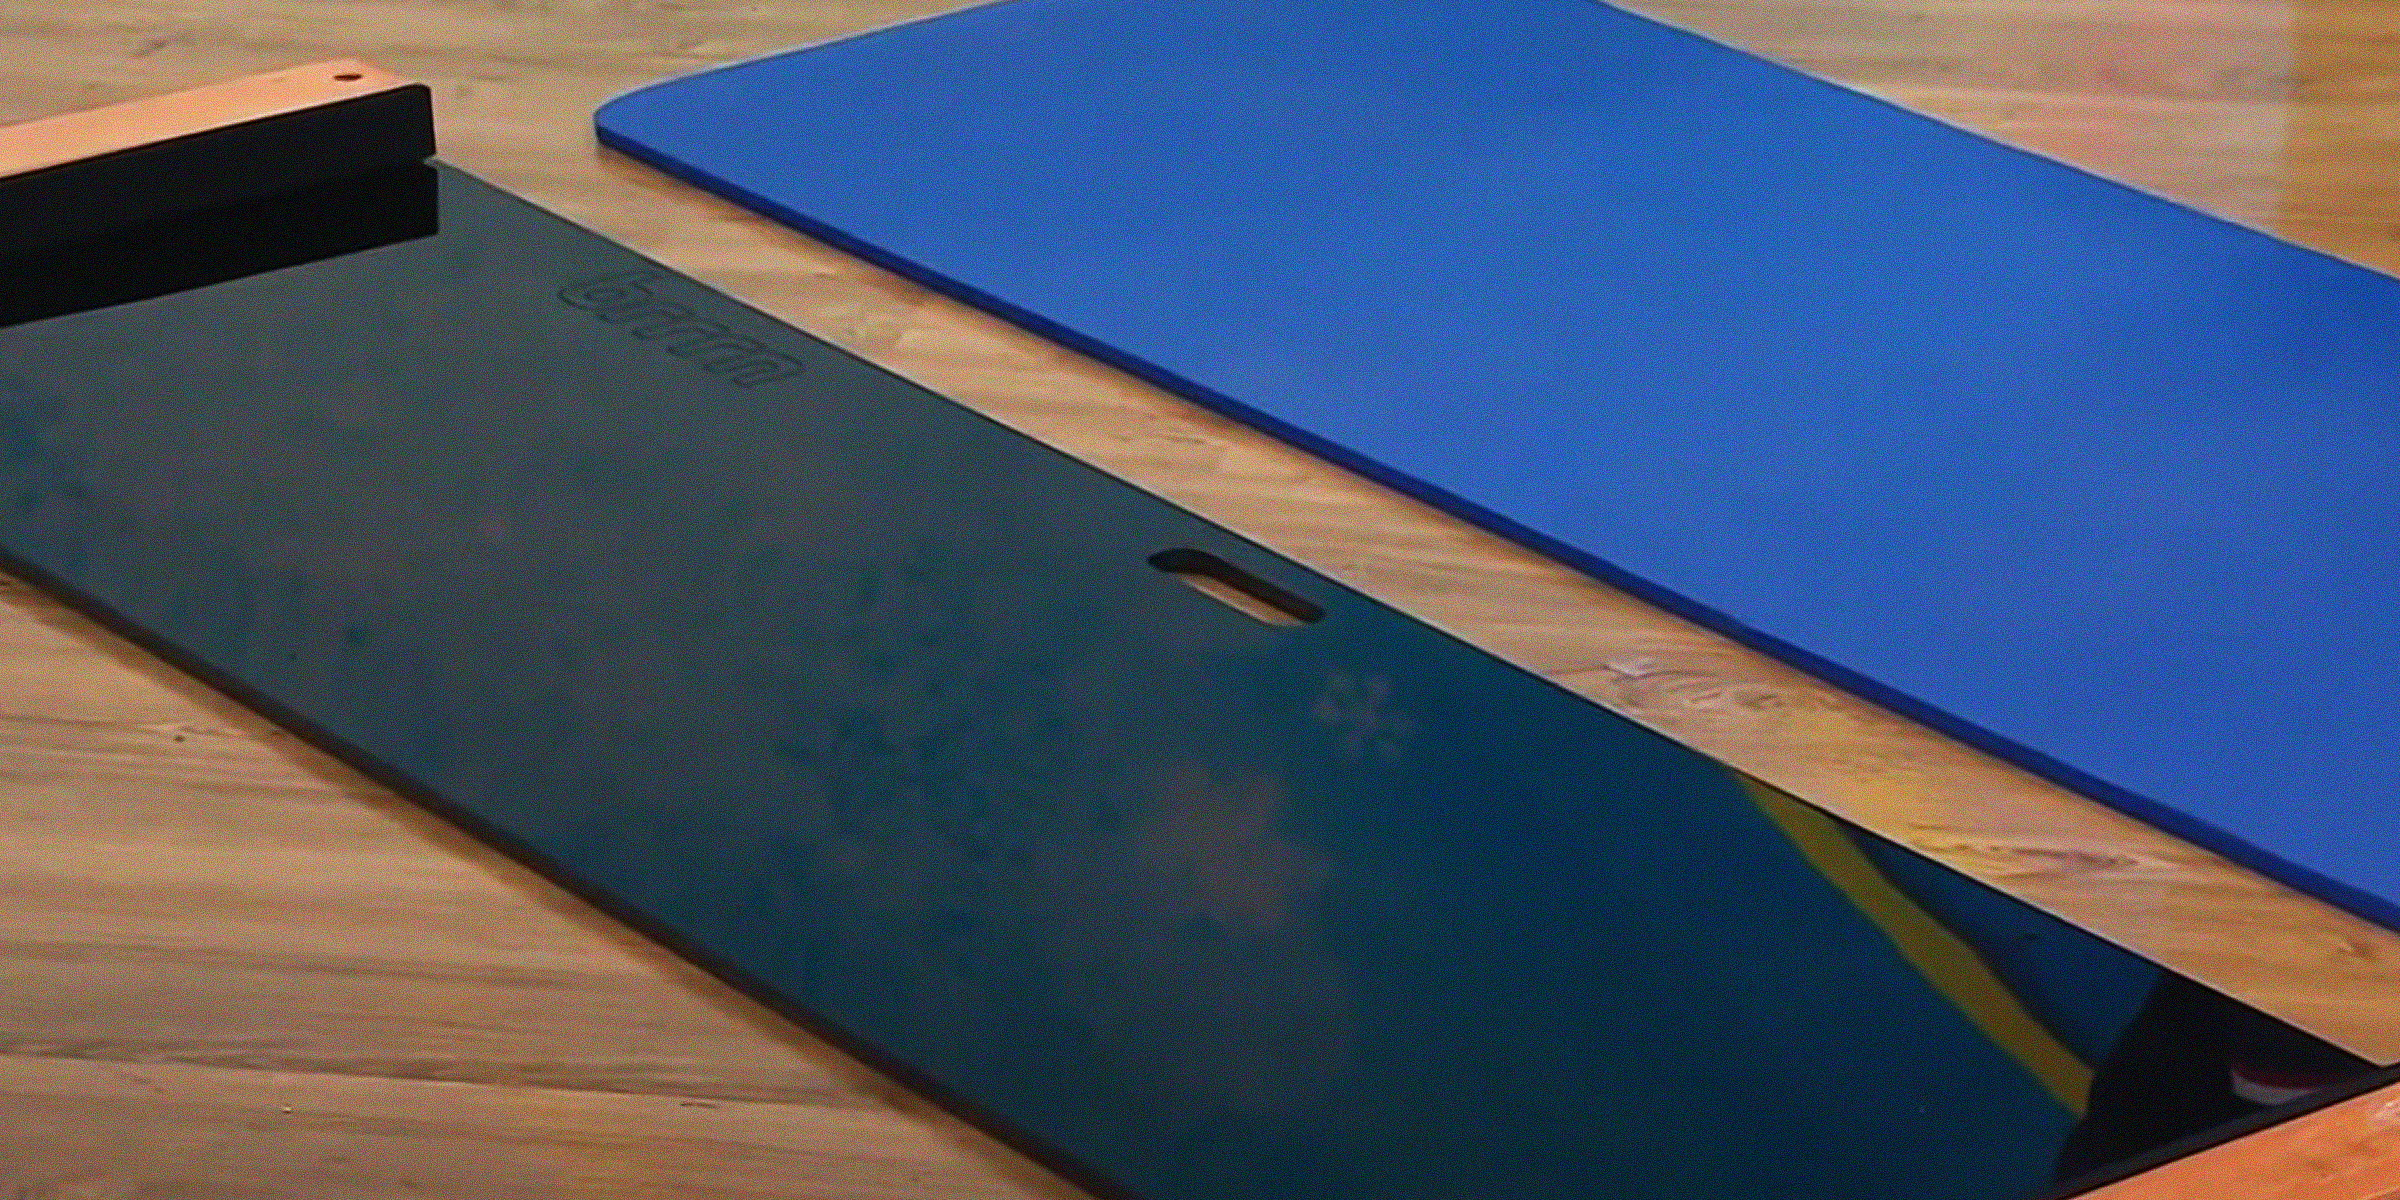
Discover the cost-effective joy of DIY slide boards! This article guides you through crafting your own, enriching your workout without breaking the bank. Save big while elevating your exercise routine.
Feb 04, 2024
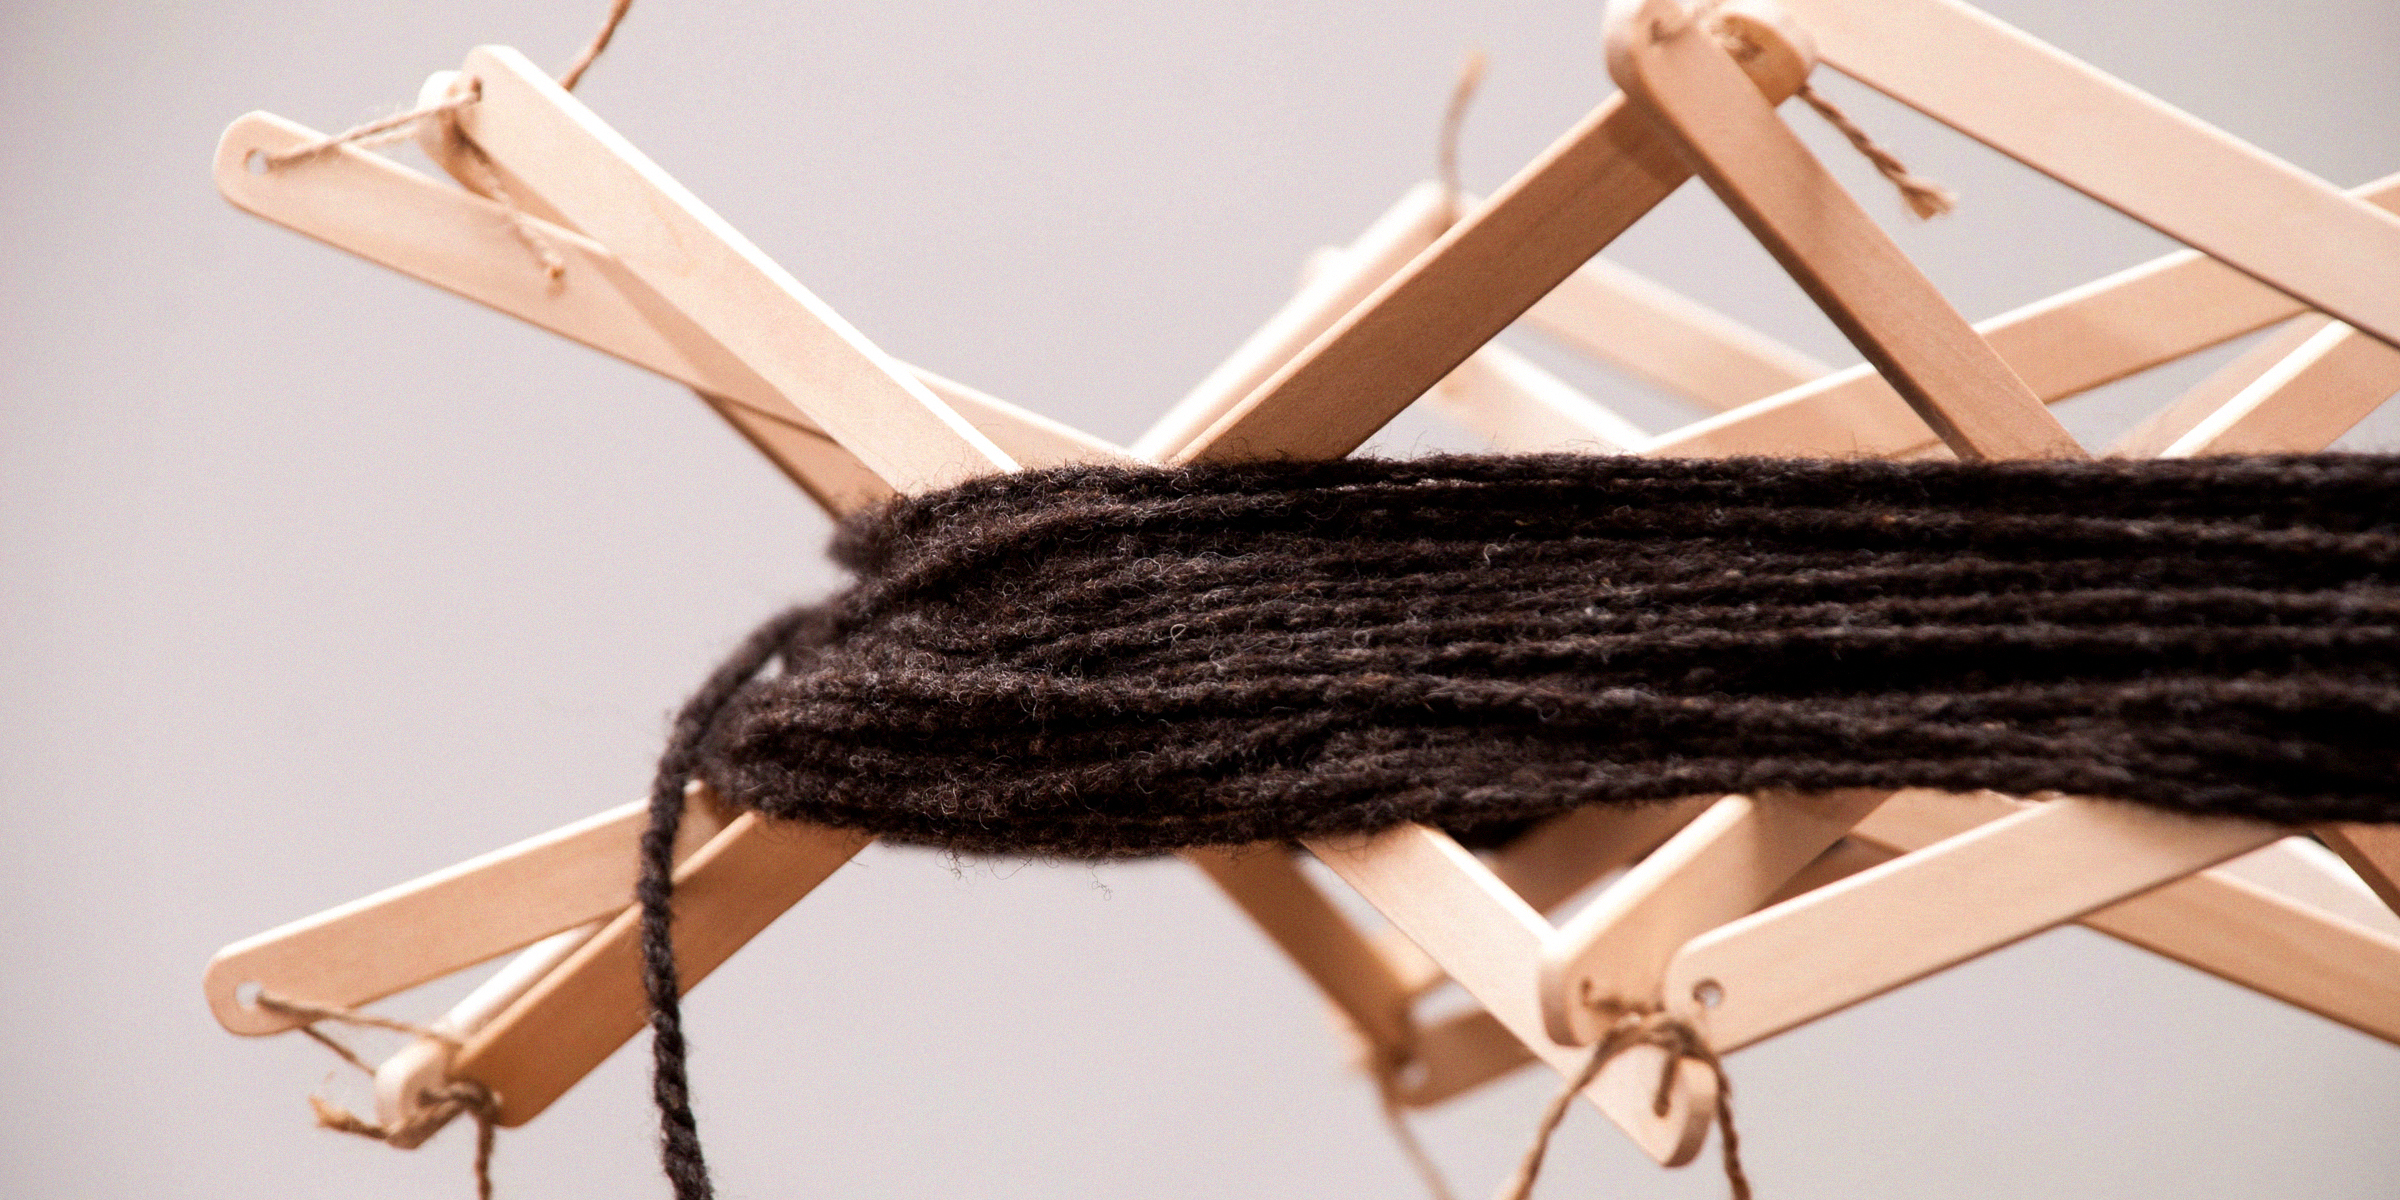
Embark on a journey to elevate your knitting prowess effortlessly and infuse each stitch with a personal touch through a DIY yarn swift. Unleash your creativity as you craft an affordable and convenient tool to elevate your knitting experience.
Feb 01, 2024
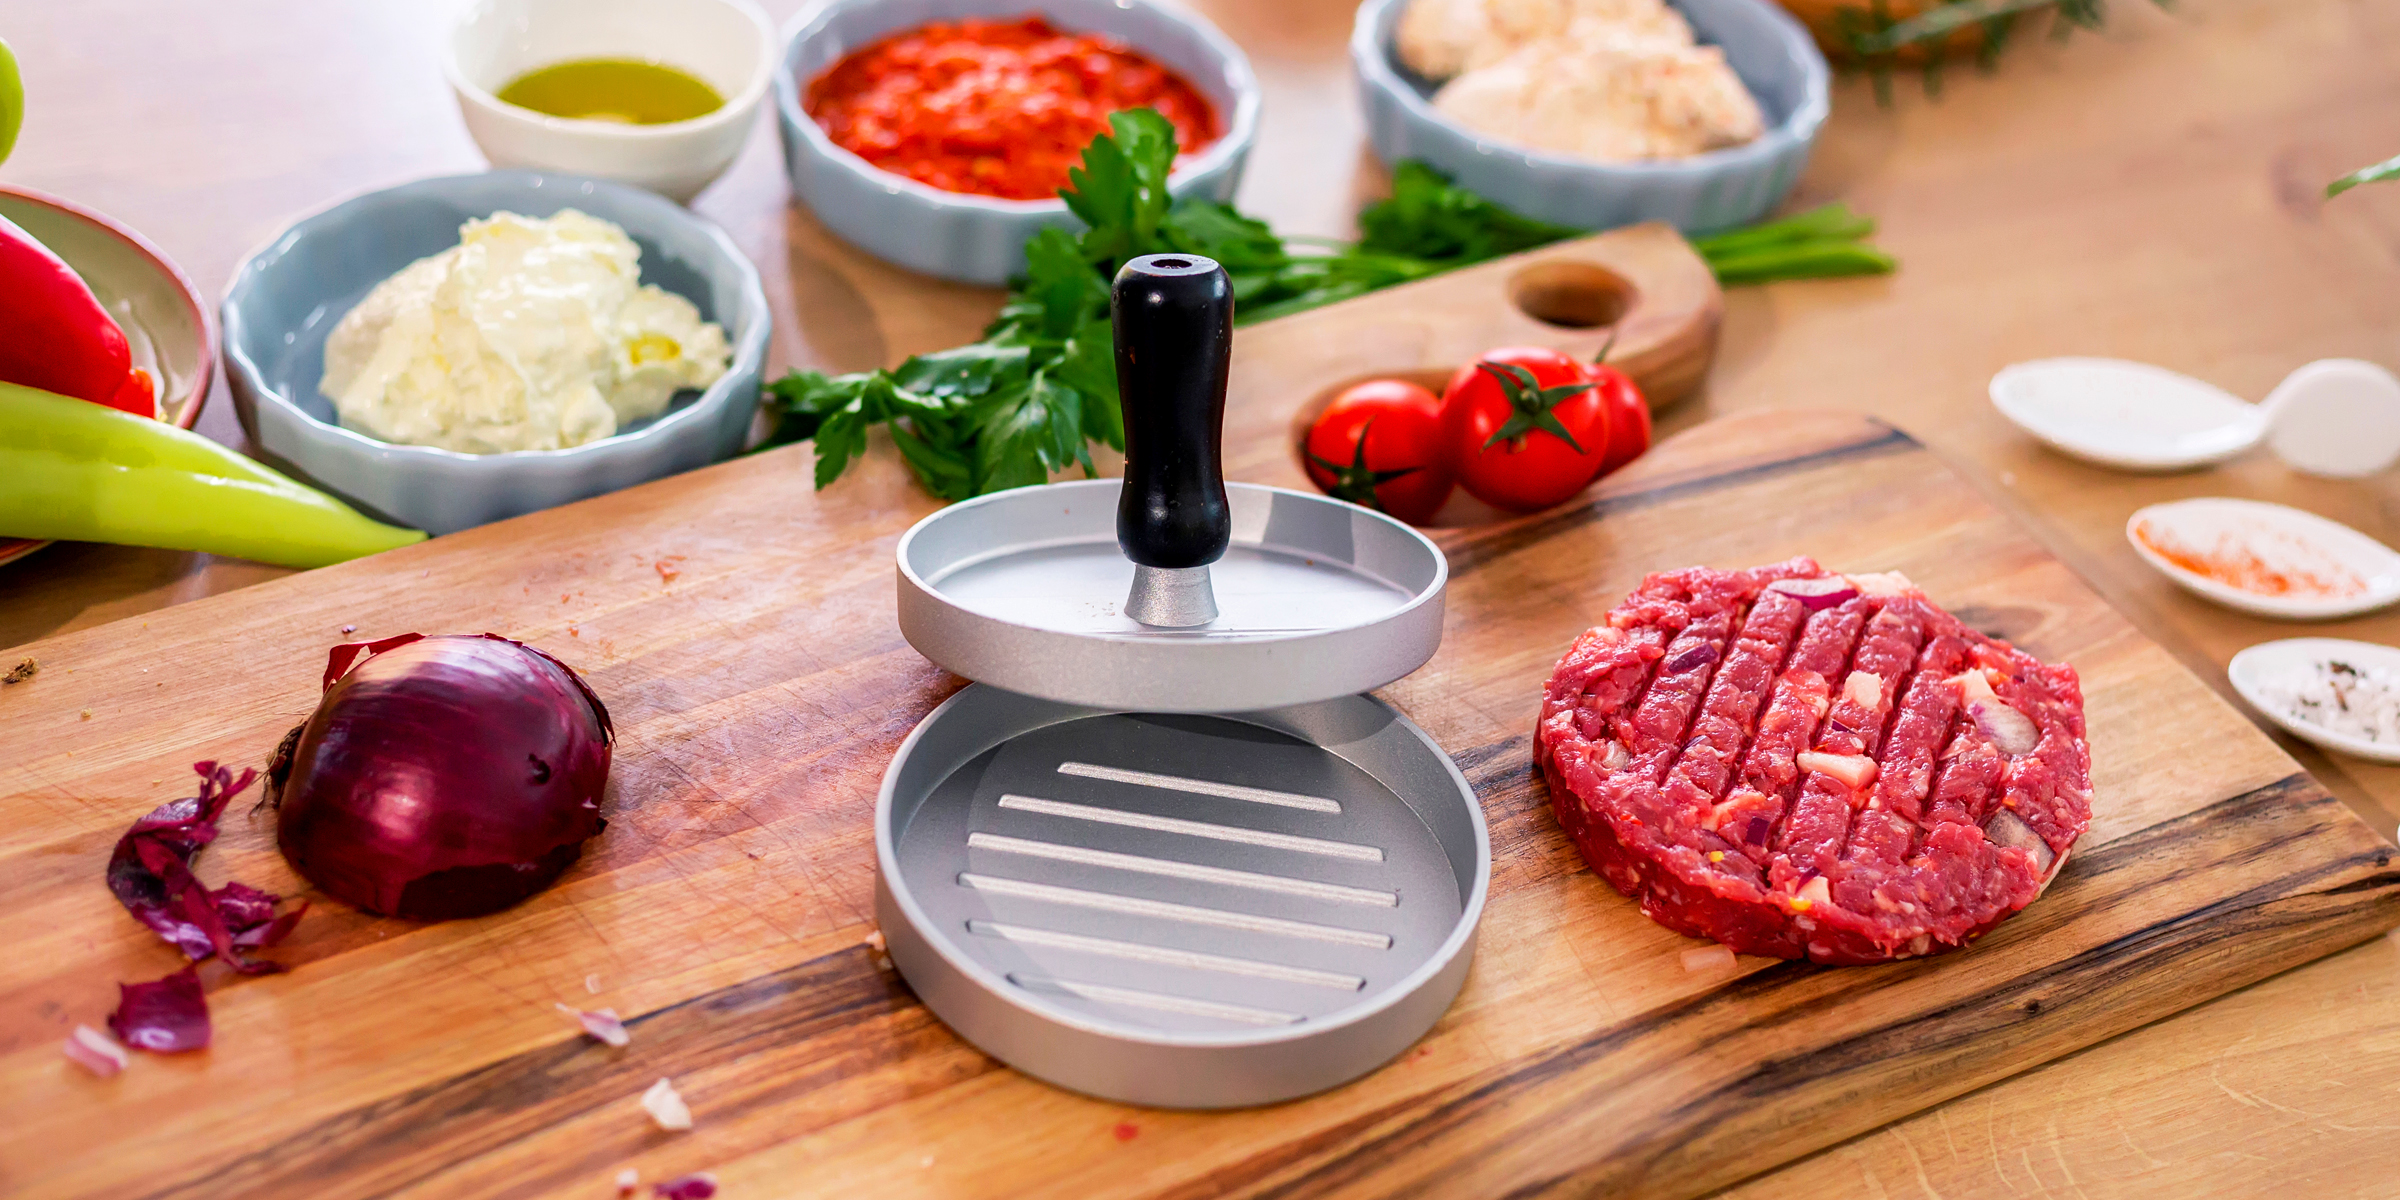
If you've been planning to buy a burger press, it's time to save that cash. In this article, you'll learn how to create a simple DIY burger press to make you the perfect patties.
Feb 11, 2024
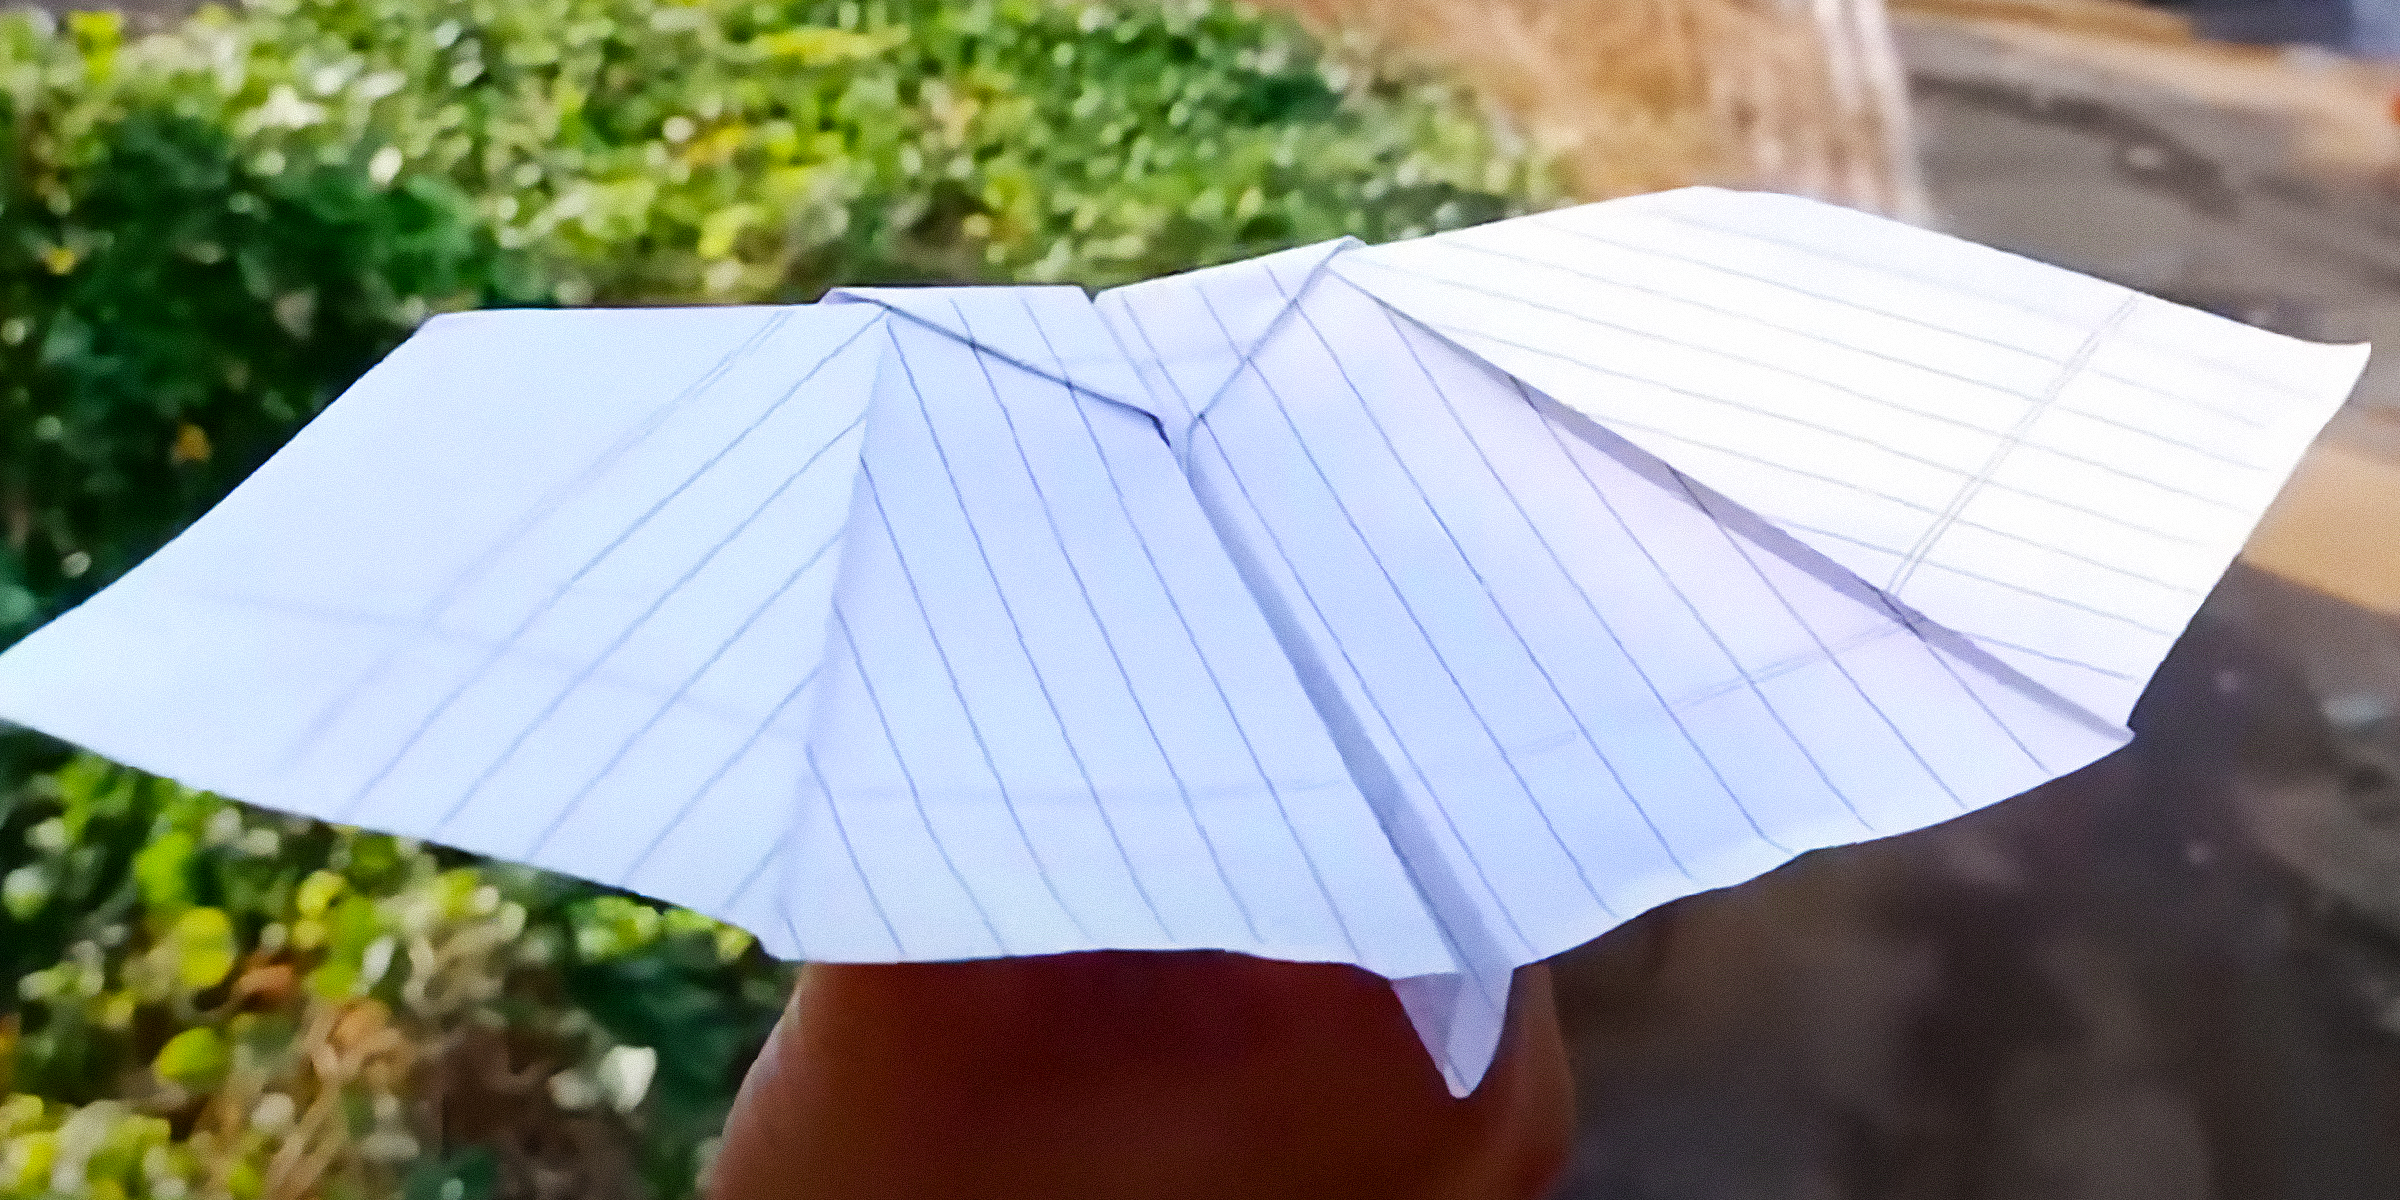
Paper planes have been around for thousands of years and have been the catalysts of human exploration into aerodynamics. In honor of the role these paper gliders have played in the history of this discipline, and simply for good fun, here's how to make a bat paper plane.
Jan 31, 2024

Creating art inspired by coral reefs is a way to honor the ecosystems that are crucial habitats for numerous marine species. Follow this step-by-step guide to make a coral reef using simple paper crafting techniques.
Mar 14, 2024

Gift wrapping is not merely about hiding what is inside; it is a way to make a statement, convey care, and transform a simple gesture into a lasting memory.
Dec 21, 2023
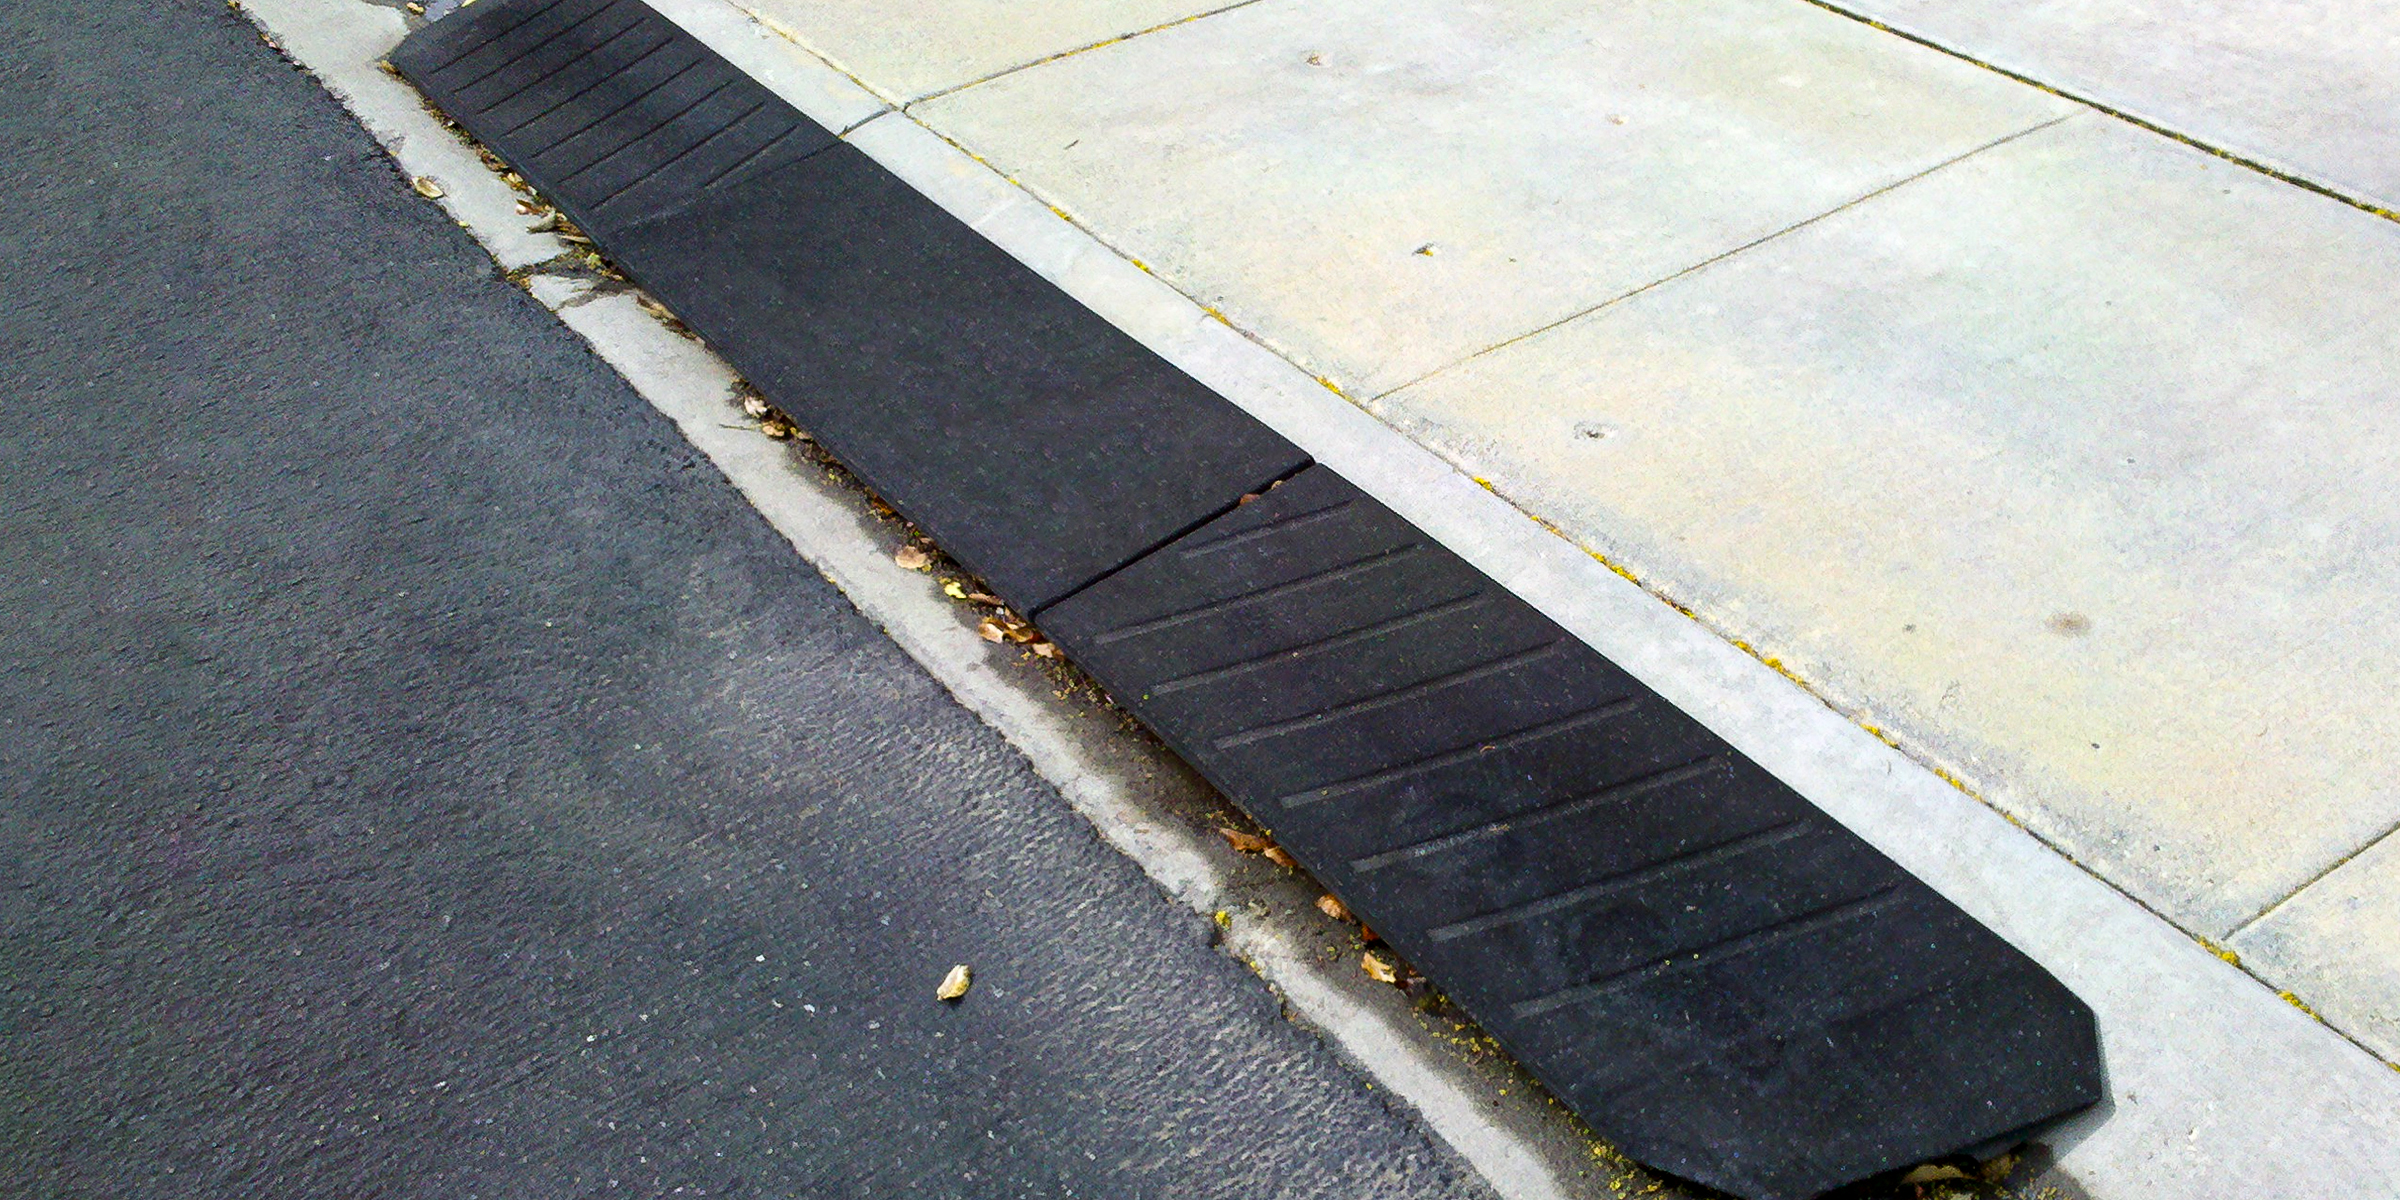
If you're a homeowner without a curb ramp for your car, don't worry! You can make one yourself, ensuring smooth access to your driveway for everyone. Here's how it's done.
Feb 13, 2024

Embark on a creative journey and revamp your bedroom aesthetics with a DIY wardrobe door. With a touch of ingenuity and these simple steps, you can tailor a personalized and budget-friendly solution.
Feb 03, 2024
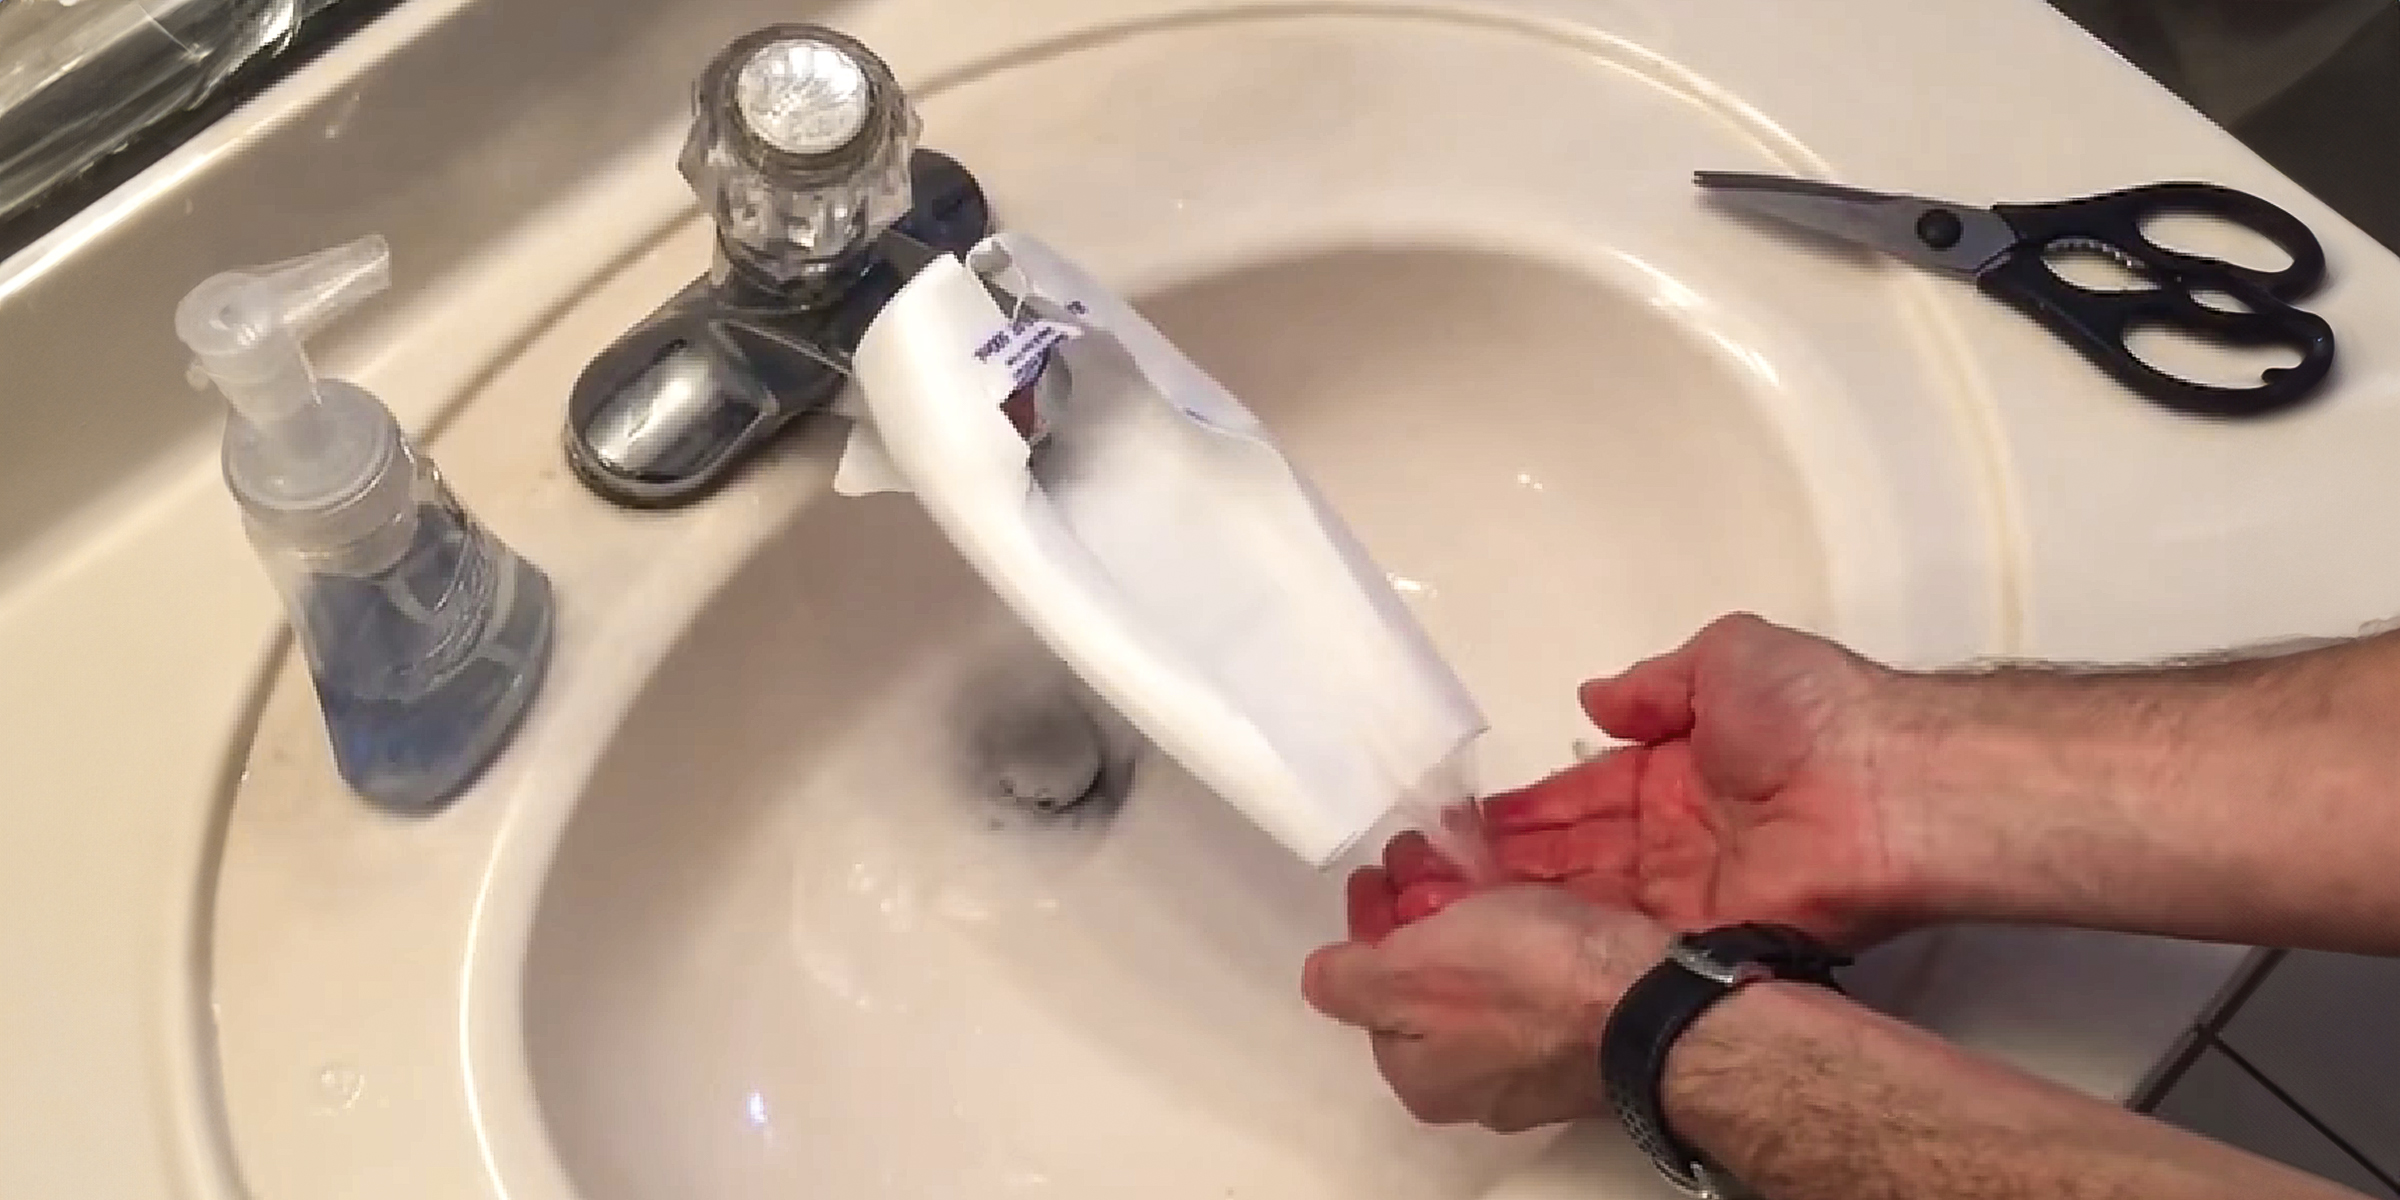
If you're dealing with the challenge of little ones struggling to reach faucets, a practical solution is to craft a DIY faucet extender. You can easily accomplish this in just a few simple steps.
Feb 05, 2024

Handfasting is an old wedding tradition that beautifully demonstrates two people's love and commitment to one another. This symbolic act is said to date back over several millennia.
Dec 14, 2023